How to Make Homemade Yogurt (Stove)
An easy-to-make homemade yogurt recipe with no special equipment required. Healthy, snack-worthy, or dial it up as the basis for a luscious dessert!
Servings 8 1/4 cup servings
Calories 76kcal
Equipment
- Heavy saucepan large enough for the amount of milk you are using.
- Spatula
- Whisk
- Instant read or candy thermometer
- Small bowl or measuring cup
- Storage container/s
Ingredients
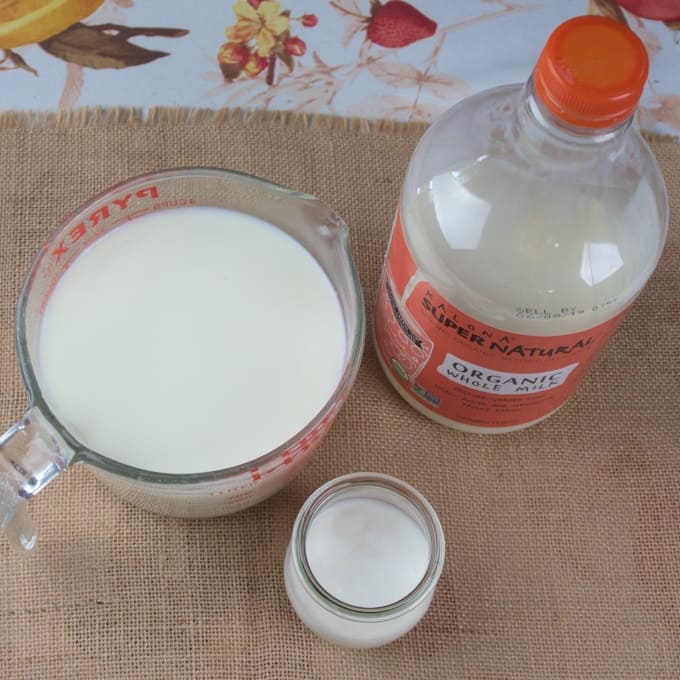
- 1 tablespoon yogurt ~ With active cultures in the ingredients, at room temperature
- 4 cups milk ~ Whole or 2%, preferrably organic
- 2 tablespoons heavy cream, optional ~ For a thicker yogurt
Instructions
Prepartions
- Clean and sterilize your equipment, tools, and work surface. There are two ways to do this: Use the “sanitize” setting on the dishwasher or sterilize everything with boiling water. Also make sure they are completely rinsed of soap residue, which can prevent a proper culture incubation. Set out all the equipment for easy access.
Making Yogurt with a Stove
- Gather your ingredients.
- In a heavy pot over medium heat, gently heat milk to 180°F (82°C). Keep between 180°F (82°C) and 190°F (88°C) for 10 minutes. Stir frequently to keep the milk from sticking.

- Cool to somewhere between 110°F to 115°F (43°C to 46°C). Don’t be tempted to heat the milk over high heat, or the milk proteins will overheat and give your yogurt a grainy texture.
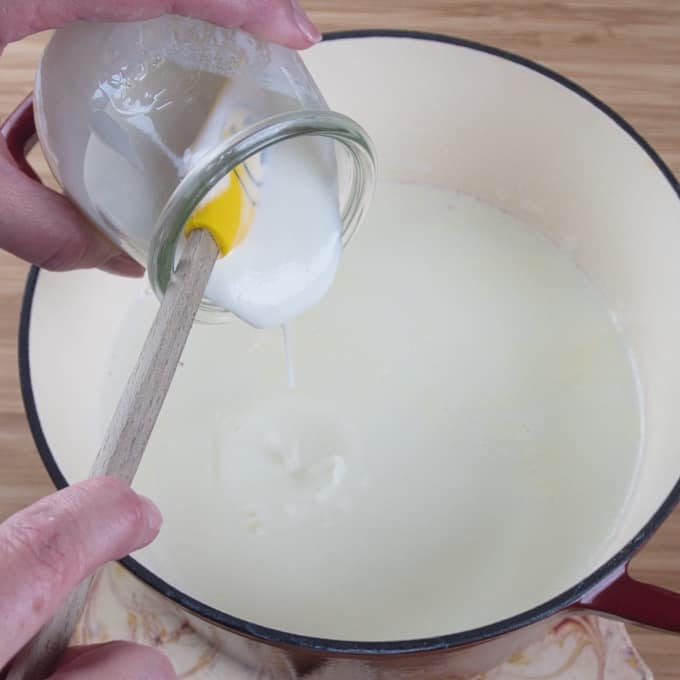
- Remove a cup of the hot milk into a glass 2-cup measuring cup or medium bowl, and whisk in the yogurt starter. Pour back into the pot and give the mixture a good stir.
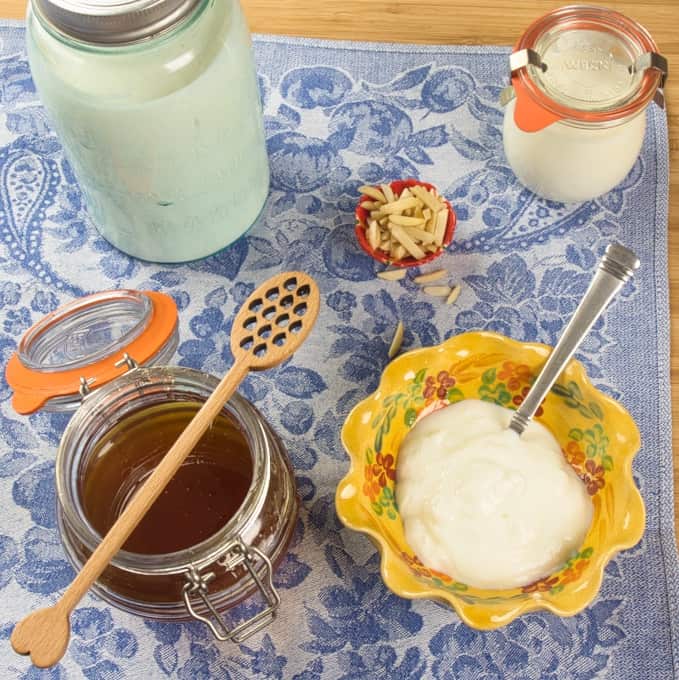
- Incubate your yogurt in the containers you would like to store it in: wide-mouth quart jars, 1 cup glass jars with lids, etc. Cover loosely with the lids and place in a warm, draft-free spot. My favorite place is in the oven, with the light on. I've tested the temperature in this environment and it runs about 92°F. The ideal temperature is 90°F(32°C) to 110°F(43°C). Other good options are: an insulated cooler with a tight-fitting lid filled to 1 inch from the top of your containers with warm water (about 110°F), on top of your refrigerator, or even in a draft-free spot, wrapped in a towel and placed on top of a heating pad.
- Let sit for 3 to 18 hours, depending on how warm the incubation spot is. You are looking for a set but jiggly (think jello) texture; the yogurt will continue to firm up in as it chills. See the last Note for how long it keeps, and how to preserve your starter if you will be taking a break from yogurt making.
- If you are wanting to strain your yogurt for a thicker, more Greek-style version, set a colander or sieve over a bowl lined with a large coffee filter, cheesecloth, very fine sieve, or a nut milk bag and let it sit in the refrigerator for 2 to 6 hours to drain. A nut milk bag shortens the straining time from at least a couple of hours, depending on the texture you are going for, to 20 to 30 minutes. It is also reusable and each bag accommodates 3 quarts of yogurt at a time.
- If you use different kinds of milk, or starter, you will have different results. Making yogurt is simple but ingredient variables, as well as trying different techniques will also affect your final product. Have fun experimenting and finding the perfect yogurt for you!
- If you are happy with your yogurt, don't forget to set aside 1/4 to 1/2 cups aside for the next batch, depending how much you want to make the next time.
Resources
- The blog Salad in a Jar:
Notes
- You can use 2% or even 1% milk but your yogurt will be thinner.
- Ideally, use milk that is pasteurized not ultra-pasteurized. It is harder for ultra-pasteurized milk to set up properly. If you are using ultra-pasteurized milk you can skip the heating to the steaming stage. Just heat milk to 116°F to 125°F degrees.
- If using yogurt as a starter, make sure that it has live cultures and without a lot of preservatives, and that you ideally use it within 7 days for the next batch.
- If you want a creamier yogurt, add 2 tablespoons of heavy cream in with your milk.
- Incubating your yogurt longer than for the optimal length of time—given all the variables (ambient temperature, starter, and the milk you are using)—will not make your yogurt thicker. That needs to be done by straining it. However, the longer you incubate the sourer it will become, so you can choose the right level of tartness you prefer.
- For details and ideas for how to make homemade yogurt using non-dairy milk, take a peek at an article published in the New York Times.
- Your homemade yogurt will be good for at least 2 weeks, and the longer you keep it the sourer it will become. Use as a starter no longer than a week after making it so the culture will still be strong.
- If you want to speed up the cooling process after bringing it to the small bubble stage, you can place the pan in a larger pot or bowl filled with cold water.
- As soon as your yogurt is set to your liking, refrigerate it. It will continue to firm up as it cools down.
- If you are taking a break from yogurt making, on or before the two-week mark, save your starter yogurt with an additional two tablespoons, and freeze for a later date.
- If your yogurt is not smooth, a little chunky:
- You can actually let your yogurt incubate too long. Start checking your yogurt at the two-hour mark, and then hourly thereafter.
- If your yogurt is too watery:
- You may not have let it incubate long enough, so check in additional hourly increments. Or...
- You may have added too much starter; generally,1 tablespoon of starter per quart (4 cups) of milk should be enough. This is a scenario where more is not better and if you have used too much starter yogurt it will be sour. Or...
- You may have added your starter before the milk has cooled to a temperature range of 110 to 115. Or...
- Lastly, you may not have a good quality starter or it is old; replace it with a fresh batch of yogurt starter or try an heirloom starter. Some starters lose their thickening capability over time.
- To save this batch, place in some cheesecloth and drain until it reaches the texture you are happy with.
- The step where many people go wrong: incubating your yogurt at too high a temperature will kill your friends, the active cultures. On the other hand, if the milk doesn’t stay warm enough, nothing much will happen. Either way, you will have milk, not yogurt.
- If you are looking for a recipe to make yogurt in the Instant Pot or slower cooker, check out my Instant Pot Greek yogurt recipe.
Nutrition
Calories: 76kcal | Carbohydrates: 6g | Protein: 4g | Fat: 4g | Saturated Fat: 2g | Cholesterol: 13mg | Sodium: 54mg | Potassium: 161mg | Sugar: 6g | Vitamin A: 198IU | Calcium: 141mg | Iron: 1mg