
A Favorite Flatbread
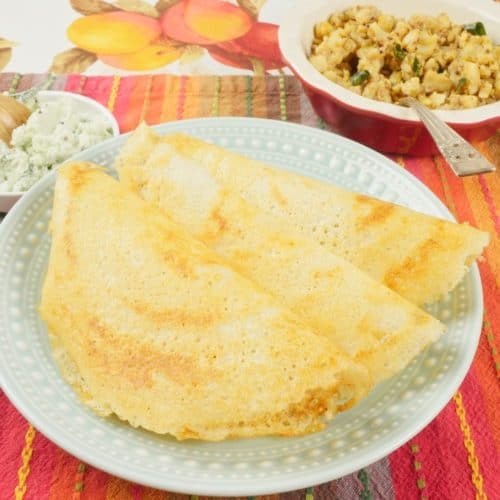
Naan is a leavened bread that isn’t just found in India but is popular throughout Asia and the Caribbean. This homemade naan is especially popular in northern India but also found throughout the country, especially in restaurants. As Indian food becomes more and more popular, I have found that almost every online newspaper, blogger, and food website has its own naan recipe. I think naan is a great gateway to making flatbreads of any kind. There are only a few ingredients, and you don’t need any special equipment or ingredients.
To Yeast or No-Yeast
Traditionally naan is made in a tandoor oven, but a home cook can make a soft and chewy, beautiful bread using just a pan on top of the stove. There are a lot of choices you can make about your favorite naan. You can go the 30-minute route using yogurt and no yeast, but adding a little baking soda and powder for lift, which is where I am starting with this recipe. I also have a yeasted naan recipe that requires a much longer rest time. Naan without yeast is quicker and if you use a mixer or food processor for the kneading, you can speed up the time it takes to make it even frequently.
Homemade Naan Options
Other choices are whether to use bread flour for a little more protein, thus gluten, thus structure. And whether you want to go for the garlic punch at the end. I am going to give you options (except the option of not making this bread!). It is satisfying with an Indian meal, as a foundation for pizza, filled with onions (kulcha naan), keema (ground meat), Peshawar, or Kashmiri naan stuffed with nuts and raisins, paneer naan, and aloo (potato) naan.
Create your own naan combo, either by using a special topping of your own devising or by using it in an unusual way. Think of it as the bread for grilled cheese, in wraps, or make it gluten-free using almond flour. For a gluten-free and paleo naan, see My Heart Beats for Ashley Thomas's 3-ingredient version if it sounds like a good match for you.
The following recipe is based on Maunika Gowardhan’s 5 Minute Naan recipe. It doesn’t require any special flours, cooking equipment or yeast, so it is the perfect gateway for your explorations. I have added my tweaks, as I always seem compelled to do. For an easy curry to along with your freshly baked bread, see my easy peasy weekend night curry.
Happy cooking!
~Alonna
See the Notes below before you cook.
Recipe Card 📖
Homemade Naan (No-Yeast)
Ingrediants
- 2 cups all-purpose flour (maida) ~ Extra for shaping
- 1 teaspoon baking powder
- 1/4 teaspoon baking soda
- 1 teaspoon sugar
- 1/2 teaspoon fine sea or table salt
- 1/2 cup plain yogurt ~ Buy or make
- 2 tablespoons oil ~ A little extra for resting
- 2 tablespoons milk ~ More as needed
- 2 tablespoons ghee ~ Optional, buy or make
Garnishes
- garlic ~ Finely chopped
- green chili ~ Finely chopped
- red pepper flakes
- coriander seeds ~ Toasted, coarsely crushed
- cilantro leaves ~ Chopped
- onion seeds (kalonji/nigella)
- sesame seeds
- coarse salt
Instructions
- Gather your ingredients.
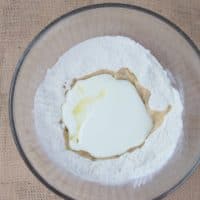
- In a large bowl, add the flour, baking powder, baking soda, sugar, and salt. Mix well to combine.
- Make a well and put in the yogurt and oil; mix. Gradually add the milk as needed to form a moist but not sticky dough. If the dough is too sticky, add a little flour. See my first Note.
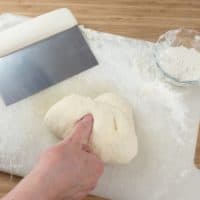
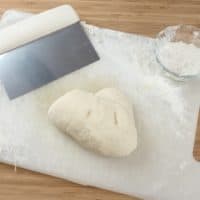
- Knead for 6 to 8 minutes, until the dough is smooth and when you press your finger into it, the dough springs back. If using a Kitchenaid mixer, kneading will take about 2 minutes. If the dough seems dry add a tablespoon of water and continue to knead until smooth and soft.
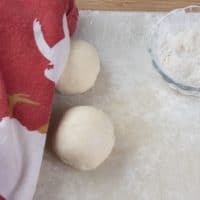
- The dough will bounce back when kneaded long enough.
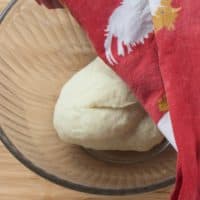
- Form into a ball, coat with a bit of oil, and cover with a damp cloth or saran wrap and place in a warm, draft-free corner of your kitchen, as in the oven or microwave, to rest for 20 minutes. Longer works if you have the time. You can stop at this point and put in the refrigerator to pause the proceedings if you have other things to do. Just be sure to bring to room temperature before going on with the recipe.
- Heat your oven’s broiler or grill, and if using a U.S. oven, put an oven rack 6 inches below the broiler. Place a baking sheet under the broiler to get hot. If you have a pizza stone or steel, this would come in handy. If cooking on the stovetop, instructions to follow.
- Divide the dough into 4 roughly equal portions (84 grams, if you like to be precise), keeping the pieces you aren’t working with covered so they don’t dry out.
- Roll or stretch the dough out to 1/8-inch thick (3mm) on a lightly floured work surface. Top with any topping of your choice except the ghee, and press lightly into the dough. See my second and third cooking Notes below.
- Place on a heated baking tray under the broiler for several minutes, or until dough as bubbled up and the first side is brown. Turn bread over and cook for a minute or two, or until nicely browned on top.
- If using a skillet, tawa, or cast iron pan on top of the stove, place over medium-high heat and wait for 2 to 3 minutes until the pan is hot. Put the first naan in the skillet and watch for bubbles to form and the first side to be browned nicely; about 1 to 2 minutes. Flip over and cook another minute until the second side is also browned.
- Wrap in a kitchen towel to keep warm and cook the rest of the bread. Brush with ghee, if you wish, and serve hot.
- To Store: Wrap tightly at room temperature for 1 day, or 2 months in the freezer.
Notes
- The key to moist, tender but chewy bread is the moisture in your dough. Go for a dough that is on the verge of slightly sticky rather than heavy and dry, and use a minimum amount of flour when rolling out.
- Traditionally, naan is tear or oval-shaped, but any shape you make is great as long as it fits in the pan you are using.
- I find gentle stretching or pressure from my fingertips all over the dough works better than using a rolling pin. With the rolling pin, the gluten in the dough seems to fight back more. You will discover the best method for you as you practice the process.
- Nik Sharma’s (author of the new cookbook “Season” which a must-read) version uses whole wheat pastry flour for more fiber and less gluten, yielding a softer bread.
- Homemade naan freezes beautifully, well wrapped, so don’t be afraid to make more than what you need immediately.
- Shortcut tip: if you are in a hurry, shorten the rest time from 20 minutes to just 10 minutes.



Lamar says
My wife tried this recipe and made enough for four meals. Each time the Naan got thinner, but she still didn’t get the thinness of Trader Joe’s packaged Naan. But the freshness! Man! Delicious. You can learn to make thin, you can’t learn freshness.
Tim says
The first few times had trouble getting the bread thin enough, pan the right temp, etc. Not being a 'real' cook, I decided to cheat and used my rolling pin with thickness rings (most thin ring) and that is perfect. I then figured out that pan temp of 400-425° seemed perfect (using IR thermometer, again, I'm more scientist than cook). Made them last weekend and have been thinking about them all week, planning to make them again tomorrow. Next week I plan to get a life...
Alonna says
Glad to hear you loved the naan. Bread is definitely in the "practice makes perfect" category, but once you master it you will wonder what all the fuss was about. If you have yeast, give my yeasted naan a go. The process takes a bit longer but it is no harder to make.
Cheers!