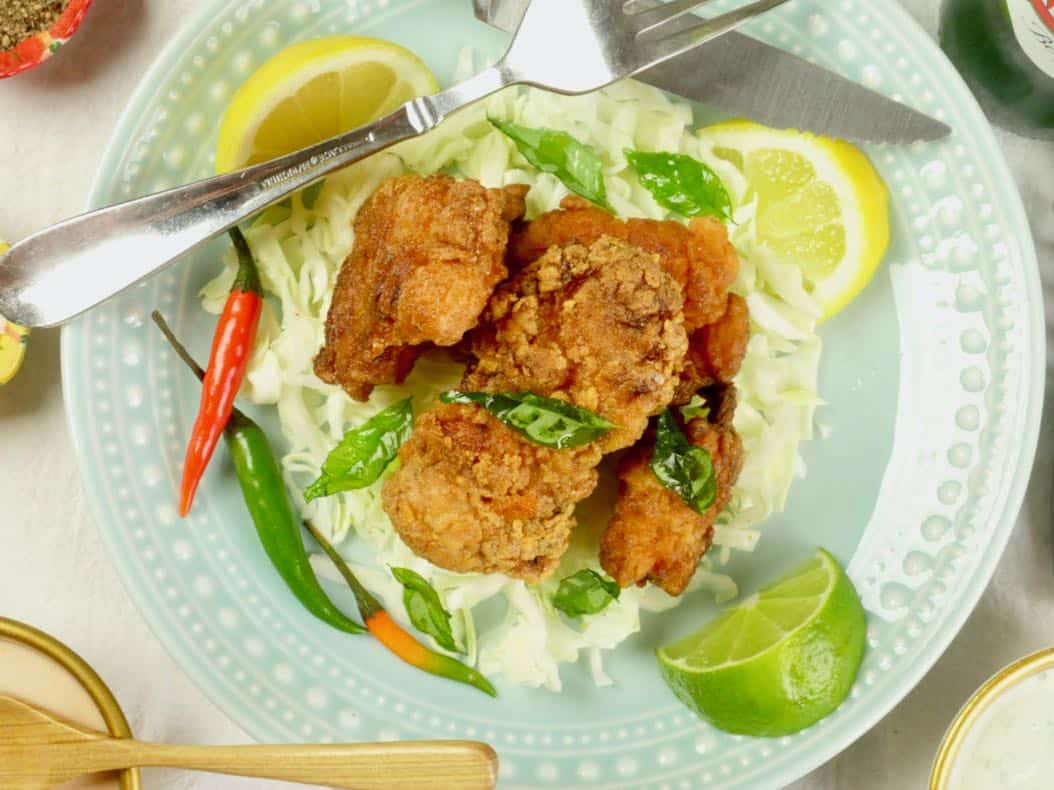
This fried chicken is indulgent and oh-so-flavorful and should be on your short list of splurges. And if you are not a big fan of deep-frying, I have shallow frying instructions for you too. The recipe is as easy as putting a marinade together, giving the chicken a 30-minute soak, breading, and then frying.
Jump to:
Crunchy & Aromatic
It is hard to find a non-vegetarian who doesn’t like fried chicken. Since I don’t eat it often, I want it to be as close to perfect as possible. This mashup of the famous Southern fried chicken of the U.S.A., and the flavors of the South Indian state of Kerala, is pretty perfect.
In Chef Asha Gomez's cookbook “My Two Souths” she brings together her South Indian roots with her adopted home of Atlanta. She is chef-owner of several restaurants, and a judge on the Food Network's popular reality show Chopped.
One of her signature dishes is her Kerala fried chicken, and the following recipe rests on that foundation. Using a mix of all-purpose flour and cornstarch for the breading gives you that satisfyingly crisp crust. If you are gluten-free, a mix of cornstarch and rice flour also works very well.
Be sweet and invite over friends and make it a party. What a treat! I hope you give this recipe a go and let me know what you think.
What's to love?
- The yogurt marinade keeps the meat tender and succulent
- The beautifully blended spices updates a family favorite
- Follow your tastebuds and make it hot or not
- It has a craveable crispy, crunchy crust
- Easy and quick enough to make on a weeknight
Ingredients
Marinade: Use a simple marinade of plain yogurt, grated or pureed ginger and garlic, and a few spices. You can marinate the chicken overnight if more convenient, or you can finish the recipe after just a 30-minute stay in the refrigerator.
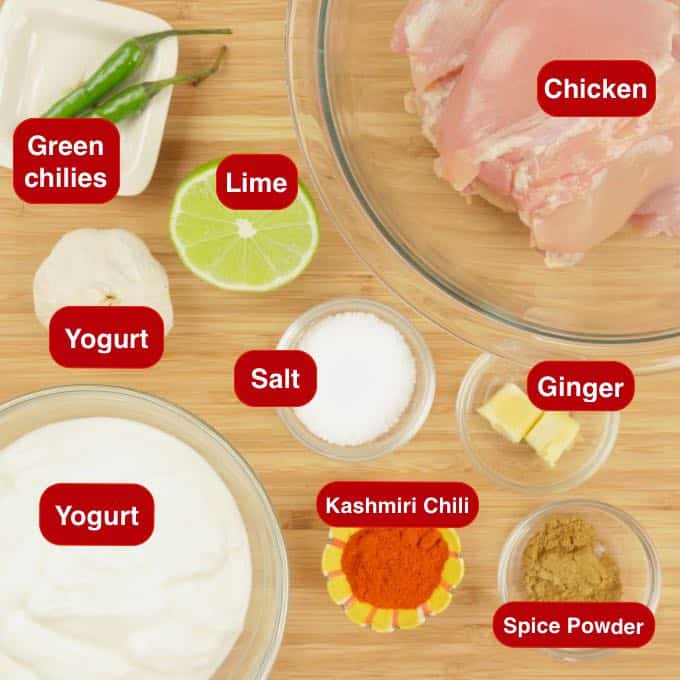
Aromatics: There is no onion in this fried chicken recipe, but the usual ginger and garlic give the marinade its liveliness.
Flours and breading
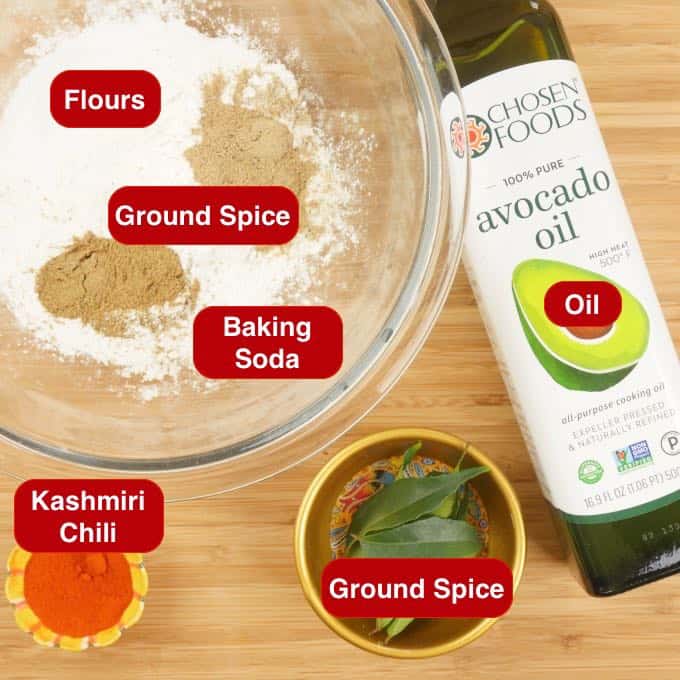
Cornstarch is used, especially for Asian fried chicken, because it makes for a lighter but crispier coating. Both Japanese karaage fried chicken and Korean garlic fried chicken rely on either 100% cornstarch, or half cornstarch and half wheat flour for an incredibly crispy coating.
Play with a mix of flours that work for you. Potato starch, cornstarch, and rice flour all add a lighter (and gluten-free) final coating. My favorite mix is a combination of wheat flour and cornstarch.
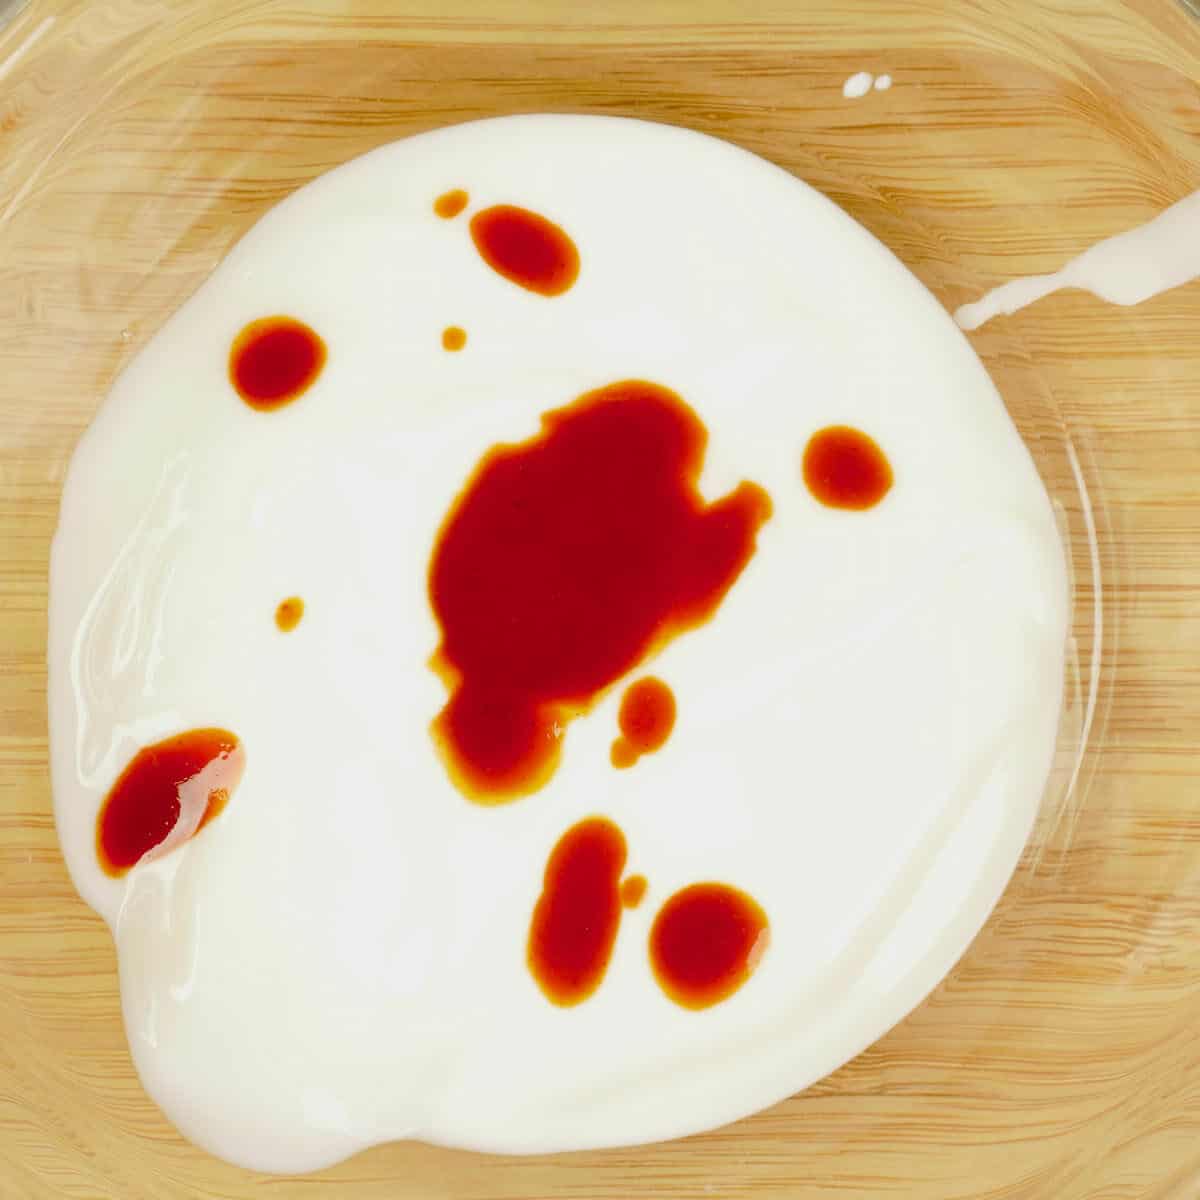
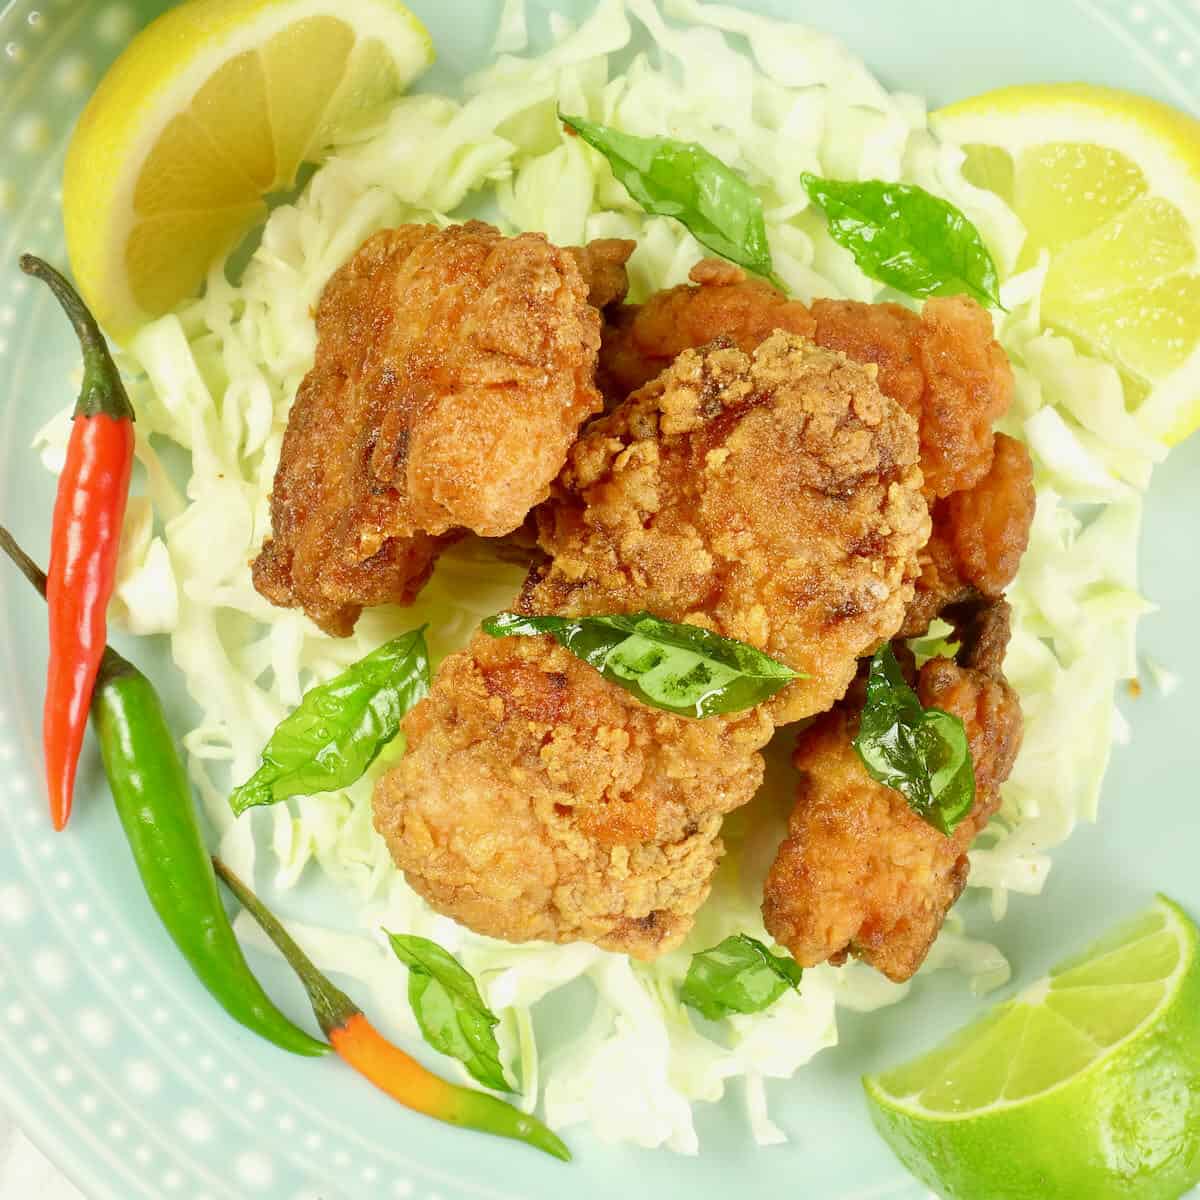
Garnishing and saucing ideas: I like to take a quarter of a cup of plain yogurt and spice it up with my favorite hot sauce (Maggi's hot and spicy) or green chutney. If you have curry leaves, a quick dip in the hot oil, and you have the perfect Kerala finish.
Spicing & Substitutions
I want to encourage you to make this fried chicken even if you don't have Kashmiri chili powder or garam masala. But since these two ingredients are used so often in Indian cooking, I encourage you to find them either in a local grocery or buy them online. Here are some swaps that you can make that will give you a tasty fried chicken:
- If you want to replace Kashmiri chili powder, use one-third the amount of cayenne, or to your taste.
- If using Kerala garam masala: 4 teaspoons
- Store-bought garam masala: 1 tablespoon or my garam masala recipe
- Half and half garam masala and chaat masala: total 1 tablespoon
- Half and half garam masala and your favorite good quality curry powder (Madras, for example): 4 teaspoons
- 100% your favorite curry powder: 4 teaspoons. One in the marinade and one tablespoon in the breading. I suggest a good Madras curry powder if you have it.
Make your fried chicken as mild to very spicy as you wish. I have used a combination of fresh chilies and ground red chili, starting as a fairly mild fried chicken. You can then add heat as you wish. Experiment with your favorite spices for this delicious Kerala fried chicken!
How to make fried chicken
Prep and marinade: Trim and cut each chicken thigh in thirds. Mix all the marinade ingredients--cover and place in the refrigerator for at least 30 minutes, up to 24 hours.
Breading: Mix all the breading ingredients. Coat the chicken with the dry mix and shake off any excess.
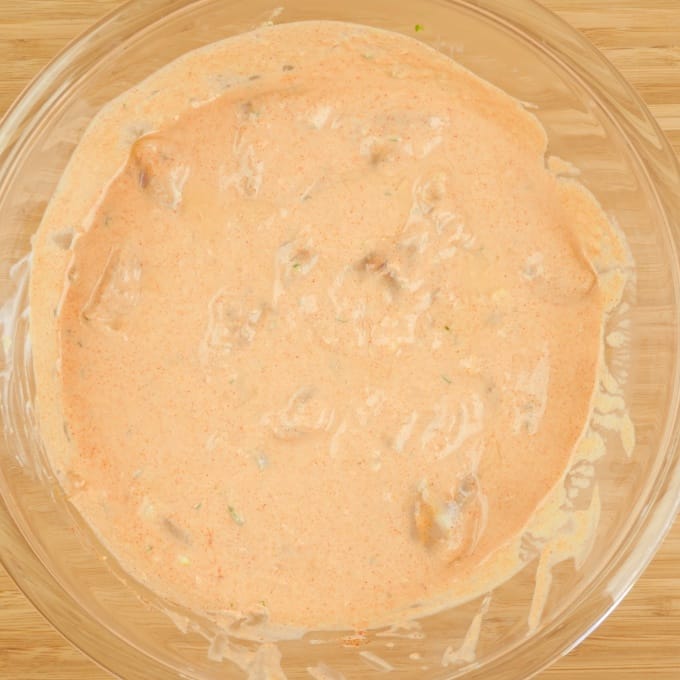
Chicken marinating

Breading the chicken
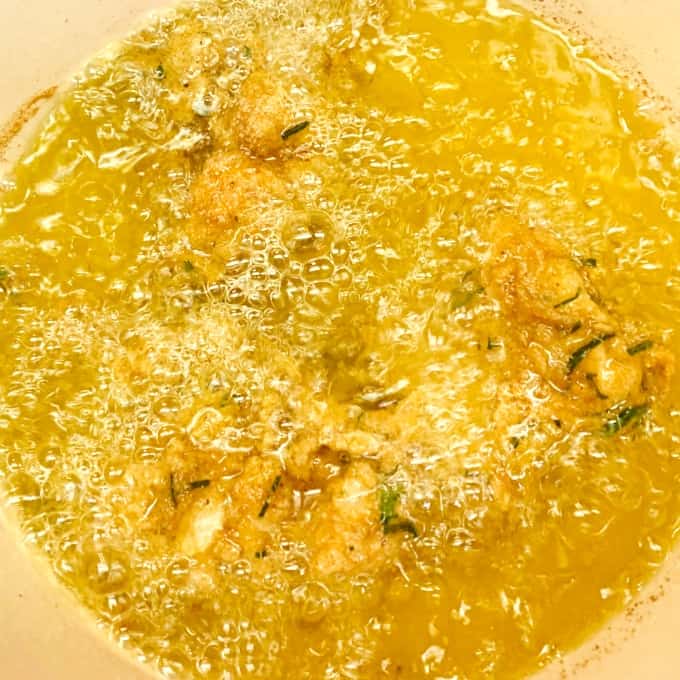
About frying: I have found that I much prefer shallow-frying. The chicken is just as golden brown and crispy. And it uses much less oil, thus much less left-over oil to deal with in the end. But you certainly use whichever method you prefer.
Deep frying method:
- Add oil to the depth of 1-inch to a heavy-bottomed pan and heat over medium-high heat.
- Bring the oil to 350°F (180°C) and fry the chicken in batches. Monitor the heat of the oil so that you can keep it at the proper temperature.
- Fry the chicken pieces until they are a deep golden brown and cooked through, approximately 4 to 5 minutes.
Shallow frying:
- In a skillet, pour in enough oil to come to 1/4 inch (slightly more than 1/2 cm).
- Over medium-high heat cook the chicken in batches. Your yogurt marinade will help keep the chicken from drying out.
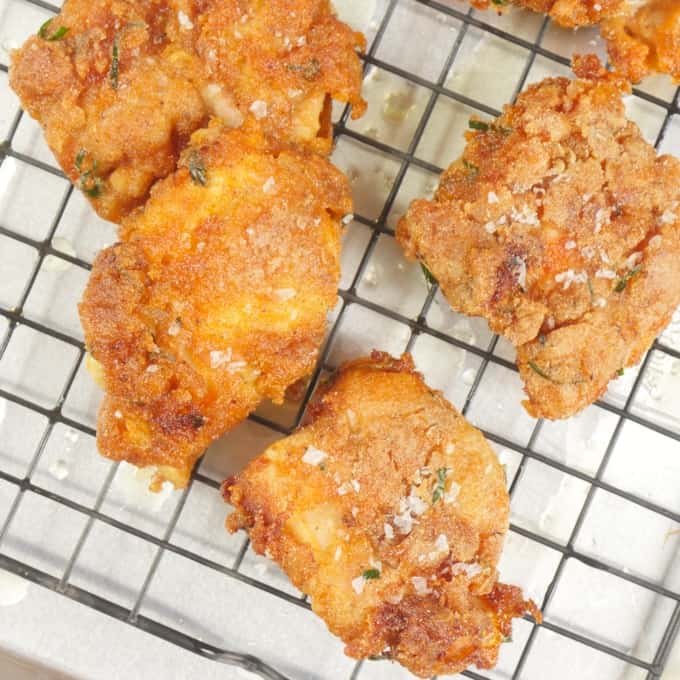
- Place the cooked chicken on the cooling rack to drain and sprinkle with coarse salt and pepper, if using.
Optional Garnishes
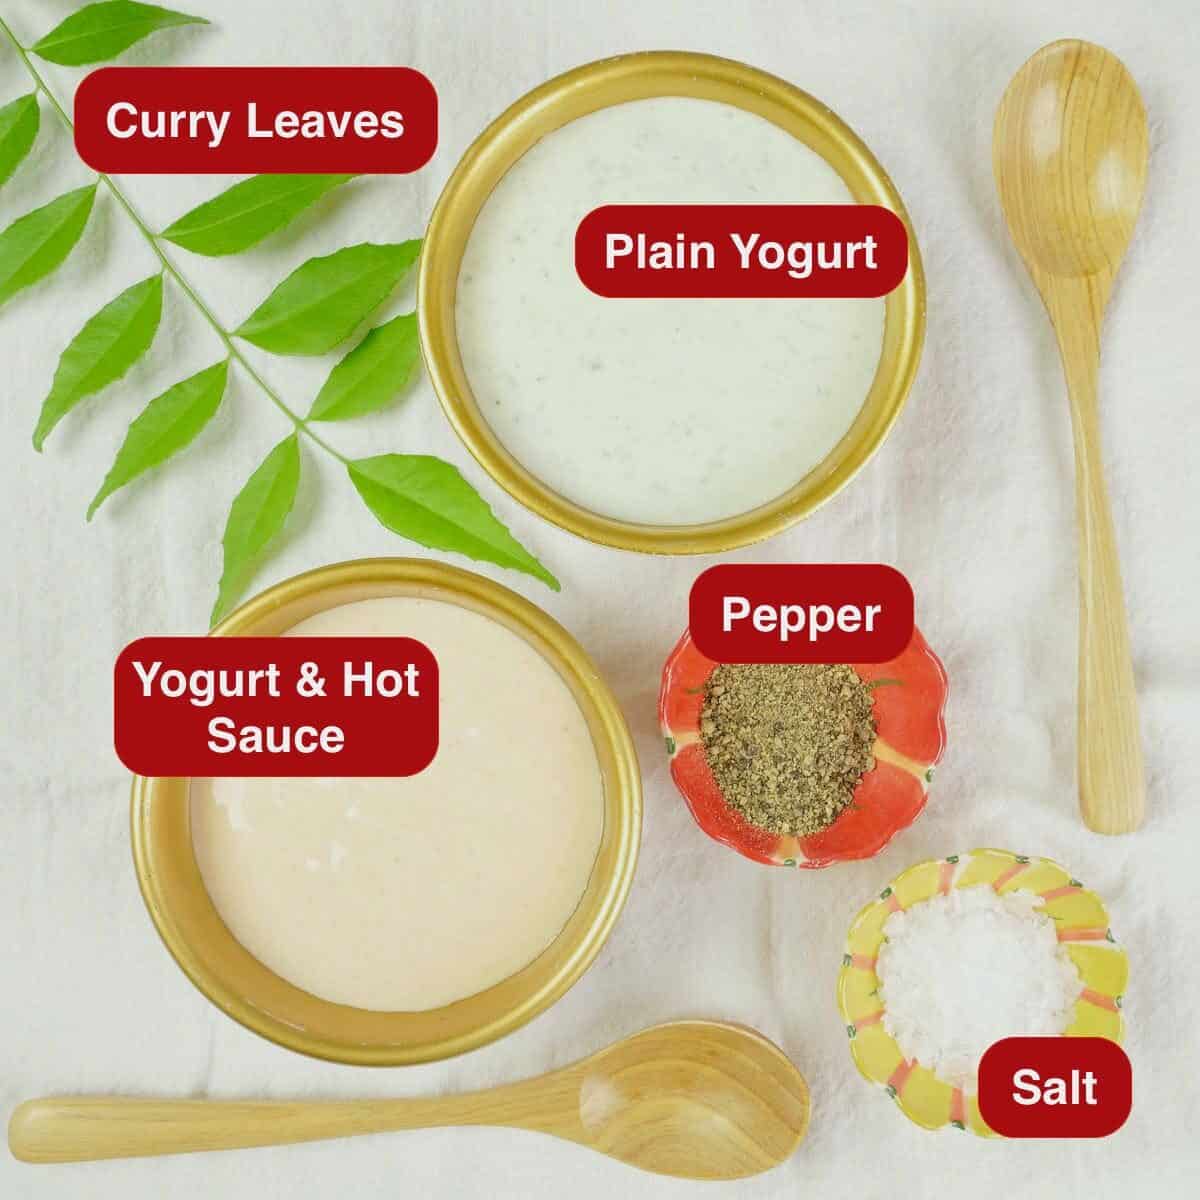
This fried chicken is delicious on its own, but if you want to guild the lily, after the chicken is cooked, fry some curry leaves in the hot oil. Serve with a quick sauce of flavored yogurt, raita and/or a favorite Indian pickle.
Frequently Asked Questions
Yes, nuggets might be even more fun to eat, though it will be a bit fussier to fry because you are managing more pieces of chicken.
You can but let's face it, it won't be as delicious. The way I look at it, I so rarely eat fried chicken, I want it to be the very best I can make it. But you do you. Baking this chicken will still need a nice amount of oil to ensure a crunchy crust.
Yes, you can certainly use white meat, but I would cut a breast into 1/2-inch strips. The main downside to breast meat is that it is not near as forgiving if you overcook it. It will dry out much more quickly and will not be as flavorful. White meat also doesn't reheat easily without drying out.
I have found that the following ratios work best. If you use too much marinade, it makes the chicken too wet when you try to bread it. And when it comes to breading, you don’t want too much, or bits of it fall to the bottom of the pan and burn. It also means that your breading is too thick and won’t get that crispy, crunchy texture you are looking for. Here are my ideal ratios:
~ 1/3 cup of yogurt or buttermilk per 1.5 lbs of chicken
~ 3/4 cup of some sort of flour for each pound of chicken
There is nothing better than freshly fried chicken. However, you can hold your batches of fried chicken in a low oven for up to an hour--or up to 2 hours if making bone-in chicken. I have detailed instructions on how to reheat chicken either made ahead or leftover. See Warming up leftovers section below.
Alonna’s fried chicken tips
- Kind of oils to use: Grapeseed, avocado, peanut, rice bran, sunflower, coconut, or canola oils. Whatever oil you use, make sure that it is good for high heat frying.
- Ensure your oil is hot enough, or your chicken will have a sad, soggy, oily breading. If you are not using a deep fryer, turn the heat up temporarily after putting in a batch of chicken pieces. Keep checking with an instant-read thermometer to ensure the oil remains around 350°F (180°C). If you don’t have a thermometer, the oil in your pan should be bubbling at a nice clip.
- Don’t overcrowd the pan, or it is hard to maintain the optimal temperature.
- Since frying chicken means cooking in batches, you may want to keep the cooked chicken warm in the oven. After frying, lay the chicken on a wire cooling rack placed over a rimmed baking sheet and tucked into a 200°F (100°C) oven. Boneless chicken thighs will stay juicy for up to an hour, but chicken breasts tend to dry out more quickly. Thighs on the bone will handle the warming oven a bit longer.
Rewarming
How to rewarm fried chicken so it stays crisp and juicy:
- Preheat your oven to 400°F (200°C).
- While the oven is preheating, remove the chicken from the fridge and let it come to room temperature; about 20 minutes.
- Place a wire rack over a baking sheet, or roasting tray.
- Place the chicken pieces in one layer without touching.
- Bake for 10 to 15 minutes or until the chicken is heated through and the coating has crisped up again.
Serving & Eating
I like eating fried chicken with cabbage slaw or a green salad. Pair Kerala fried chicken with my Indian-ish coconut cabbage salad, potato masala, or go Mexican-Indian fusion with a spicy cornbread.
Ways to eat your fried chicken either the first time around or as leftovers:
- wraps, tacos, burritos
- what about fried chicken naan pizza?
- sliders or sandwiches
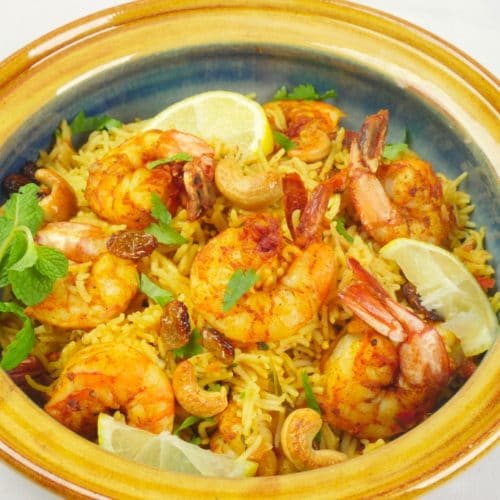
- biryani
- snacks or a main meal
- cut into bite-sized pieces for tasty finger food
This recipe is one of the 10 dishes I make over and over!
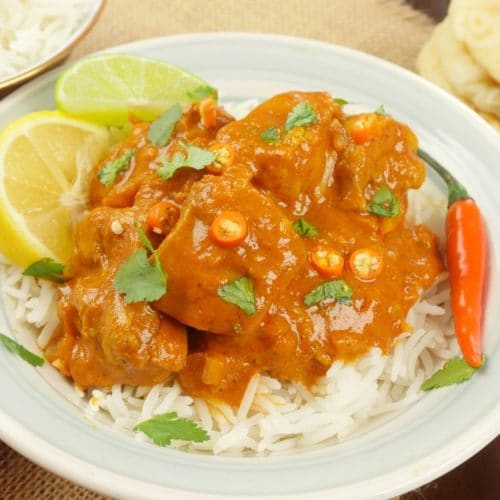
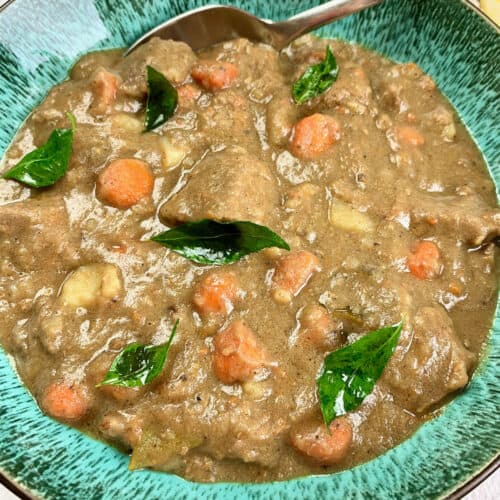
More dishes from Kerala to make
Did you try this recipe? I’d love to hear about it! Please rate by clicking stars ⭐️ on the recipe card and/or let me know in the comments section below. Thank you! ~Alonna
Recipe Card 📖
Indian Fried Chicken (Kerala Chicken Fry)
Ingrediants
Marinade
- 1 1/2 pounds boneless and skinless chicken thighs ~ See Notes below
- 1/2 cup plain yogurt ~ Or buttermilk
- 1 1/2 tablespoons garlic ~ Grated, puréed, or finely minced ~ 4 to 5 cloves
- 2 teaspoons ginger ~ Grated or puréed
- 2 teaspoons Kashmiri ground red chili ~ Or 1/4 teaspoon cayenne, to taste
- 2 teaspoons green chili ~ Minced: See Notes below1 to 2 small Indian (finger) or 3/4 Serrano chilies; to taste
- 1 teaspoon sea or table salt ~ 2 teaspoons kosher salt
- 1 teaspoon Kerala garam masala ~Or see Notes below
- 2 teaspoons lemon or lime juice ~ Optional
- 1/4 teaspoon black salt ~ Optional (kala namak)
Breading & Frying
- 1 cup all-purpose flour ~ See Notes below
- 1/4 cup cornstarch
- 1 teaspoon baking powder
- 1 teaspoon sea or table salt ~ Or 2 teaspoons kosher salt
- 1 tablespoon Kerala garam masala ~ See Notes below
- 1 tablespoon Kashmiri ground red chili ~ 1/2 to 3/4 teaspoons cayenne, to taste!
- oil for frying ~ Grapeseed, avocado, or your favorite oil
Optional Garnishes
- 1 teaspoon coarse salt ~ Optional, Maldon or Kosher salt
- 2 sprigs curry leaves ~ Optional, fry for garnishing
- lemon or lime wedges
- 1/4 cup plain yogurt ~ Mixed with 1 teaspoon of hot sauce or green chutney (more to taste) and a pinch of salt
Instructions
Marinade
- Trim and cut each chicken thigh in thirds. In a bowl large enough for the chicken, mix together all the marinade ingredients except the chicken.
- Stir in the chicken to coat thoroughly. Cover and place in the refrigerator for at least 30 minutes, up to 24 hours. Allow the chicken to come to room temperature for 20 minutes before frying.
Breading & Frying
- Gather all the breading ingredients and mix together. Place a cooling rack on a sheet pan to be ready for the cooked chicken.
- Coat the chicken with the dry mix and shake off any excess.
Deep frying instructions
- Using a dutch oven, wok, or a large skillet, add oil to the depth of 1-inch and heat over medium-high heat. Bring the oil to 350°F (180°C) using an instant-read thermometer or the handle of a wooden spoon. If using the wooden spoon test, put the straight end into the oil, and if tiny bubbles come up immediately, the oil is hot enough. Fry the chicken in batches being sure to monitor the heat of the oil. Don't overcrowd the pan! You probably need to temporarily increase the heat as needed with each new batch of chicken because it will reduce the temperature of the oil. Frying with too low a temperature will lead to sad, oily fried chicken.
- Stir the chicken frequently to keep it from sticking to the bottom of the pan and getting random dark spots. Fry it until it is a deep golden brown and cooked through, approximately 4 to 5 minutes. The temperature should register at least 165°F (75°C). Your yogurt marinade will help keep the chicken from drying out so it is fine to go over this temperature for dark meat. See Cooling and Serving for next steps.
Shallow frying
- In a skillet, pour in enough oil to come to 1/4 inch (slightly more than 1/2 cm). Over medium-high heat bring the oil up to shimmering but not smoking. Cook the chicken in batches. Depending on the size of your pieces it will take 4 to 5 minutes on the first side and 3 to 4 minutes on the second.
- Add more oil if needed to finish shallow cooking all of the chicken. The temperature should register at least 165°F (75°C). Your yogurt marinade will help keep the chicken from drying out so it is fine to go over this temperature for dark meat.
Saucing, garnishing, and serving ideas
- Place the cooked chicken on the cooling rack to drain and sprinkle with coarse salt, if using. Leave space between the pieces of chicken. If you want to serve the chicken hot, keep it warm in a 200°F (100°C) oven. Dark meat keeps well in the oven for up to an hour, but white meat will probably start drying out at about 30 minutes.
- If you are using curry leaves after all the chicken is cooked, add the curry leaves to the hot oil and fry for 10 to 15 seconds until turn a darker, shiny green.
- Serve with a quick sauce of flavored yogurt as described in the garnishing ingredient section, raita and/or a favorite Indian pickle.
How to rewarm leftovers
- Preheat your oven to 400°F (200°C). While the oven is preheating, remove the chicken from the fridge. Allow it to stand at room temperature for 20 minutes. On a wire rack over a baking sheet place the chicken pieces without touching.
- Bake for 10 to 15 minutes or until the chicken is heated through and the coating has crisped up again. If using chicken breasts you will need to be careful not to dry it out. Start checking if it is warm enough at the 8-minute mark.
Notes
- Your chicken: Cut chicken thighs into thirds. Depending on the size of the bird this will be 4 to 6 pieces. If you need to use chicken breast, cut them into 1/2 inch strips. White meat will dry out much more quickly, however.
- About chilies: Use finger, Serrano, or Jalapeno chilies. Starting with 2 teaspoons gives you a gentle bit of heat. Add more to your taste.
- Play with a mix of flours that work for you. Potato starch, cornstarch, and rice flour all add a lighter (and gluten-free) final coating. My favorite mix is a combination of wheat flour and cornstarch.
- Here are some spicing options:
- If you need to replace Kashmiri chili powder, use one-third the amount of cayenne, or to your taste.
- All Kerala garam masala: 4 teaspoons
- Store-bought garam masala: 1 tablespoon or my garam masala recipe
- Half and half garam masala and chaat masala: total 1 tablespoon
- Half and half garam masala and your favorite good quality curry powder (Madras, for example): 4 teaspoons
- 100% your favorite curry powder: 1 tablespoon




Leave a Reply