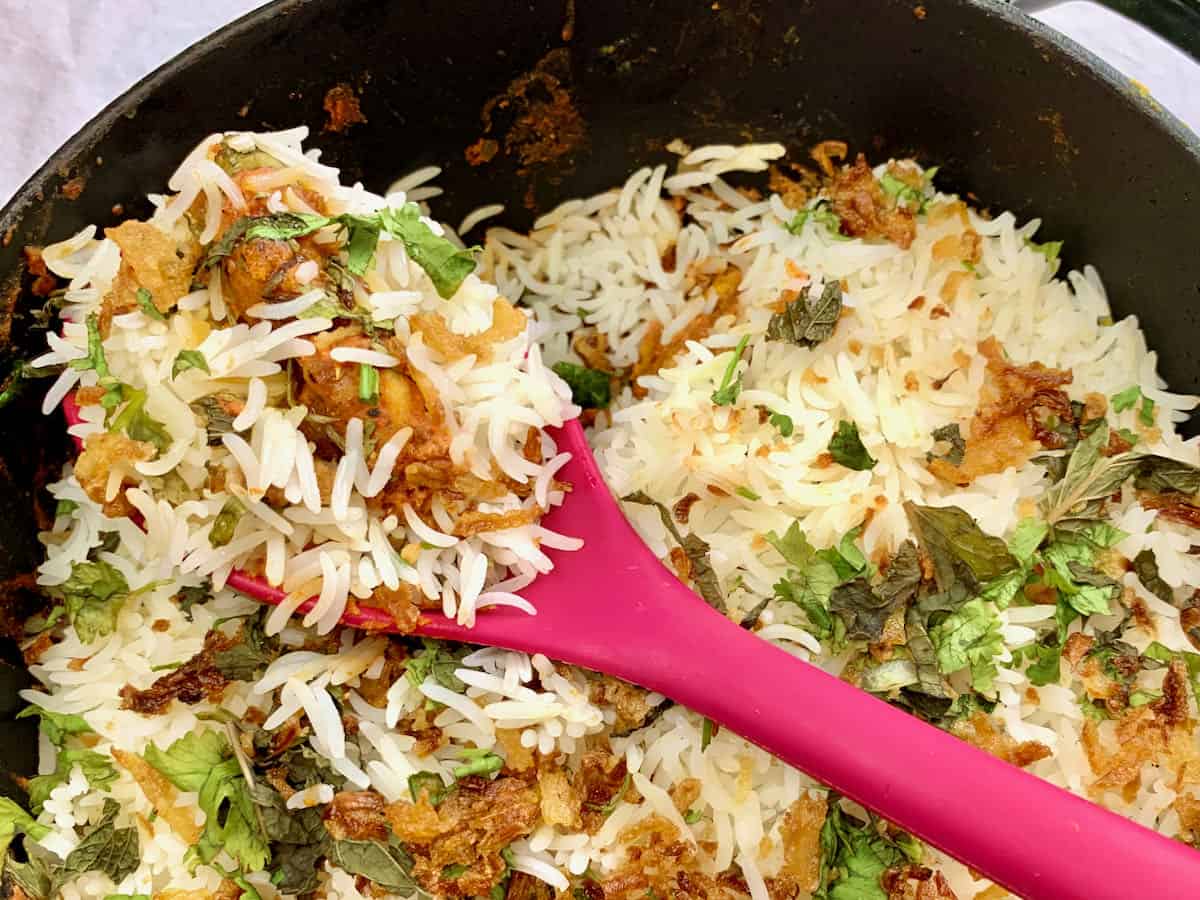
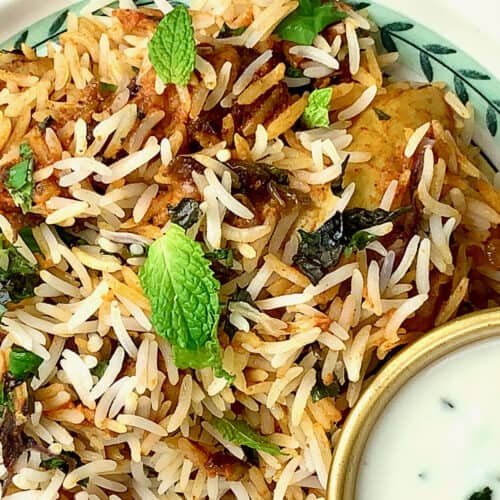
This biryani is a labor of love and is unforgettably unique and flavorful. While chicken 65 is traditionally very spicy, you can make this biryani as hot or mild as you wish. I also have recipes for other great biryanis: Tandoori chicken tikka biryani or Chicken Tikka Masala biryani. And make quick 4-ingredient raita to go alongside.
Jump to:
About
Birthed in Chennai, a South Indian capital city, chicken 65 is a beloved spicy chicken curry. The heat comes from ground pepper and fresh chilies. Traditionally deep-fried, the chicken can also be shallow fried. So this memorable biryani is a beautiful combination of the glorious chicken 65 curry and the Hyderabadi biryani cooking method.
I have written this recipe so that it suits most palates, but you can add heat as you wish. Even if you don't want to go full monty on chili heat, the unique spicing will have you making this biryani over and over.
Please don't be put off by the length of this recipe. I have written it so that a beginner has a no-fail blueprint full of tips and tricks. While biryani is a labor of love, all the steps are simple ones.
When I am making biryani for guests, I often cook it over three days. The added benefit is that you have an even more flavorful biryani. Here is how I divide up the steps:
- Day One is marinating the chicken.
- On day two, I cook the chicken and make the sauce.
- And on the day I am serving it, all I need to make is the rice, fry the onions (which you can also buy), and layer the ingredients for the final 25-minute reheating on the stove.
After you have made biryani a time or two, you will enjoy its rhythm and have an oh-so full of flavor and texture spicy chicken 65 biryani.
If you want to break down the steps to make the recipe more manageable, I like to cook the rice, the sauce, fry the onions, and marinate the chicken in the morning or the night before. When comes to assembly time, you just have the herbs to chop, the rice and chicken to layer, and then the final 25-minute cook.
What is to love about this recipe
- This biryani is wonderfully spiced and deeply satisfying
- This is a fun "project cook" you can make over 2 to 3 days
- A genius combination of chicken 65 and biryani rice
- Follow the step-by-step recipe that gives you all the detail you need

Ingredients
If you have done any Indian cooking you will recognize all these ingredient groups:
Spices: Many Indian dishes have a specific spice blend that gives the dish its special flavor. This dish relies on garam masala in the marinade and Shan's biryani masala (dry spice mix), but any brand you like will work.
If you can't find this masala you can sub in more garam masala. You will still have a wonderfully flavorful dish. The rice is aromatic with whole cardamom, cloves, and a cinnamon stick.
Aromatics: The usual ginger, garlic, and onion triumvirate are the foundation. A favorite recipe from MyIndianStove is my ginger garlic paste, if you want to make your own.
Fresh herbs: The mint and cilantro combo adds freshness and aroma that takes biryani to new heights. Curry leaves add citrus and anise flavor, but if you can't find them some lime zest is a reasonable stand-in.
Tomato: I prefer to use canned tomato sauce. My local grocery has small one-cup cans that work perfectly. Fresh tomatoes work as well. Avoid diced tomatoes.
Chicken: My favorite chicken cut is chicken thighs. In this recipe, you will want skinless and boneless chicken. You can use chicken breast but you will need to be very careful not to overcook it.
Rice: Basmati is your go-to choice for biryani. Be sure to find a good quality brand that you like. See my recommendations in the FAQ section.
Other: Ghee, yogurt, and lemon juice.
There are four mini-recipes for this dish.
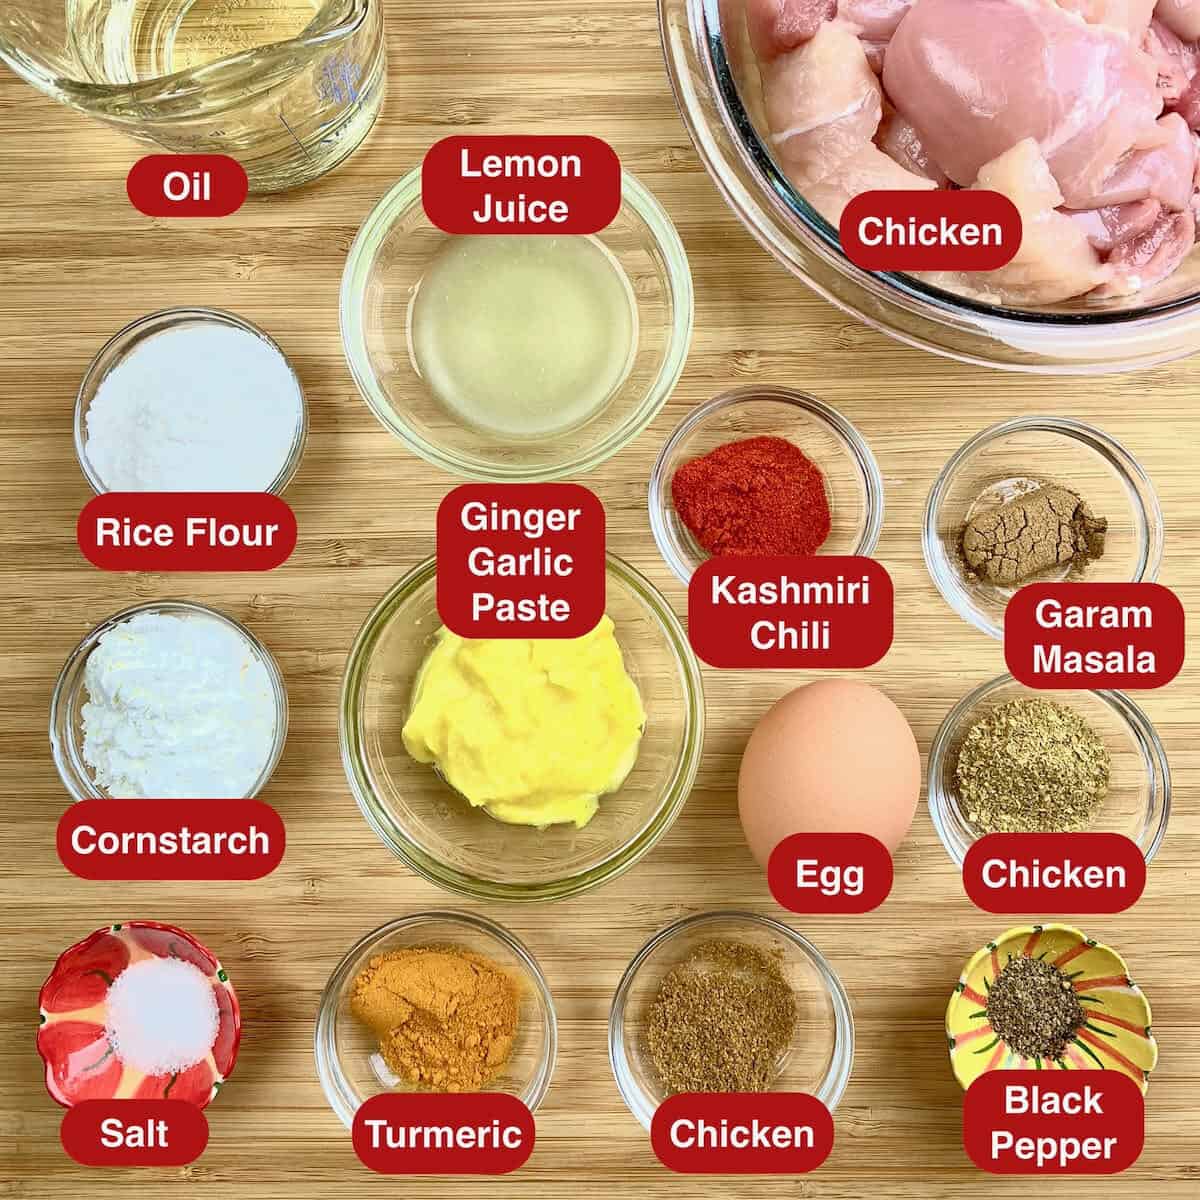
Marinade Ingredients

Chicken 65 Gravy Ingredients

Rice with whole spices.
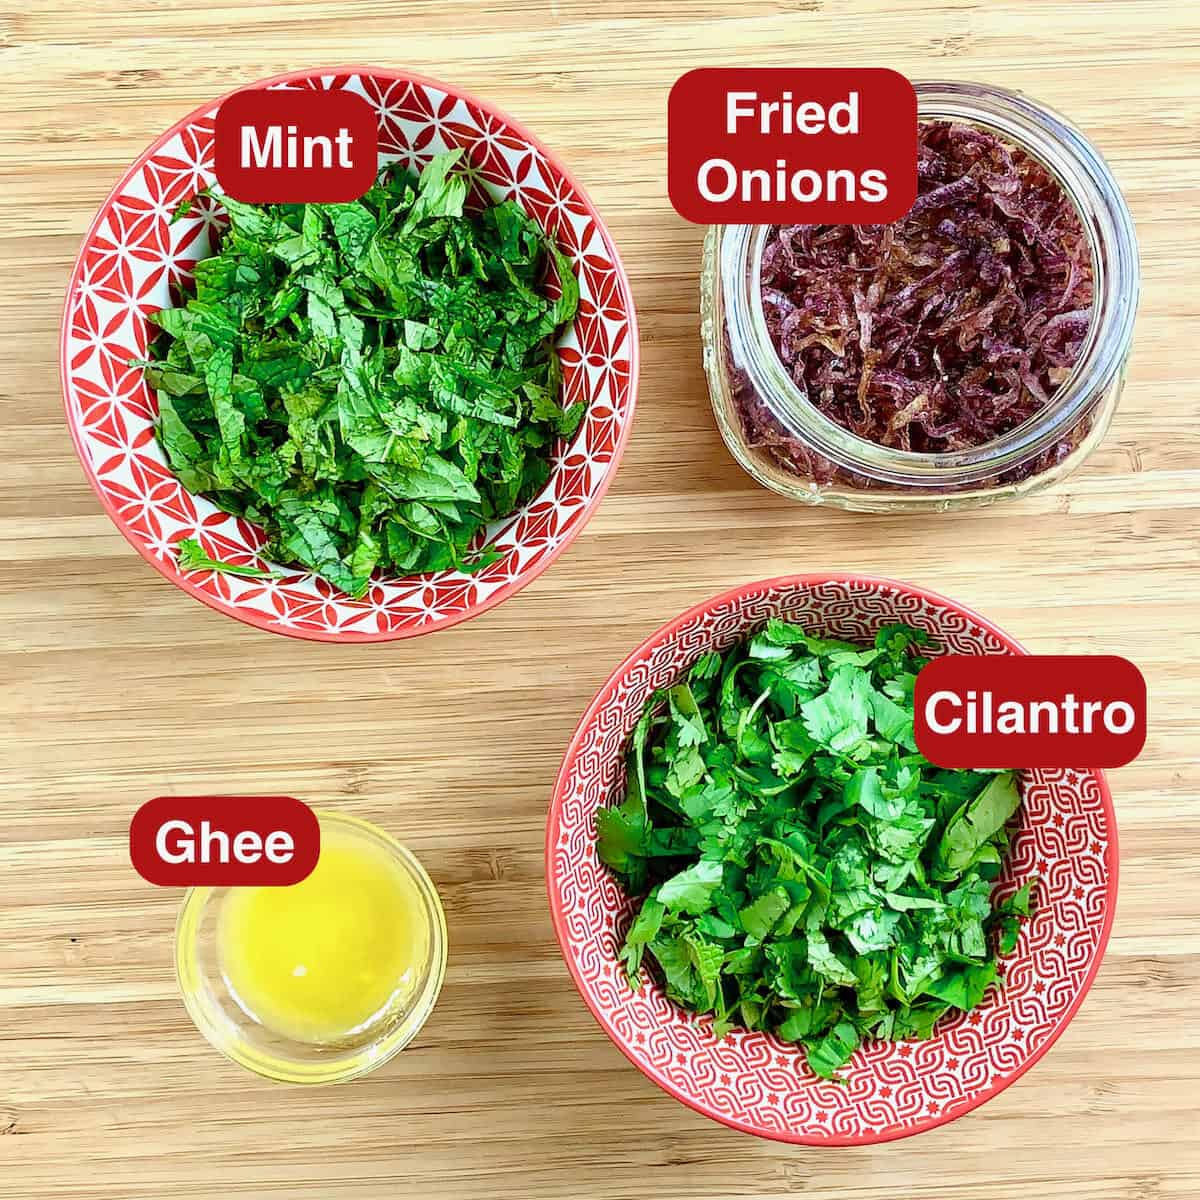
Herbs and ghee for layering.
How to Cook
I have broken this recipe into seven stages. Remember, each stage can be made a day or two ahead, except for the final 25-minute reheating just before serving.
1. Marinate the chicken
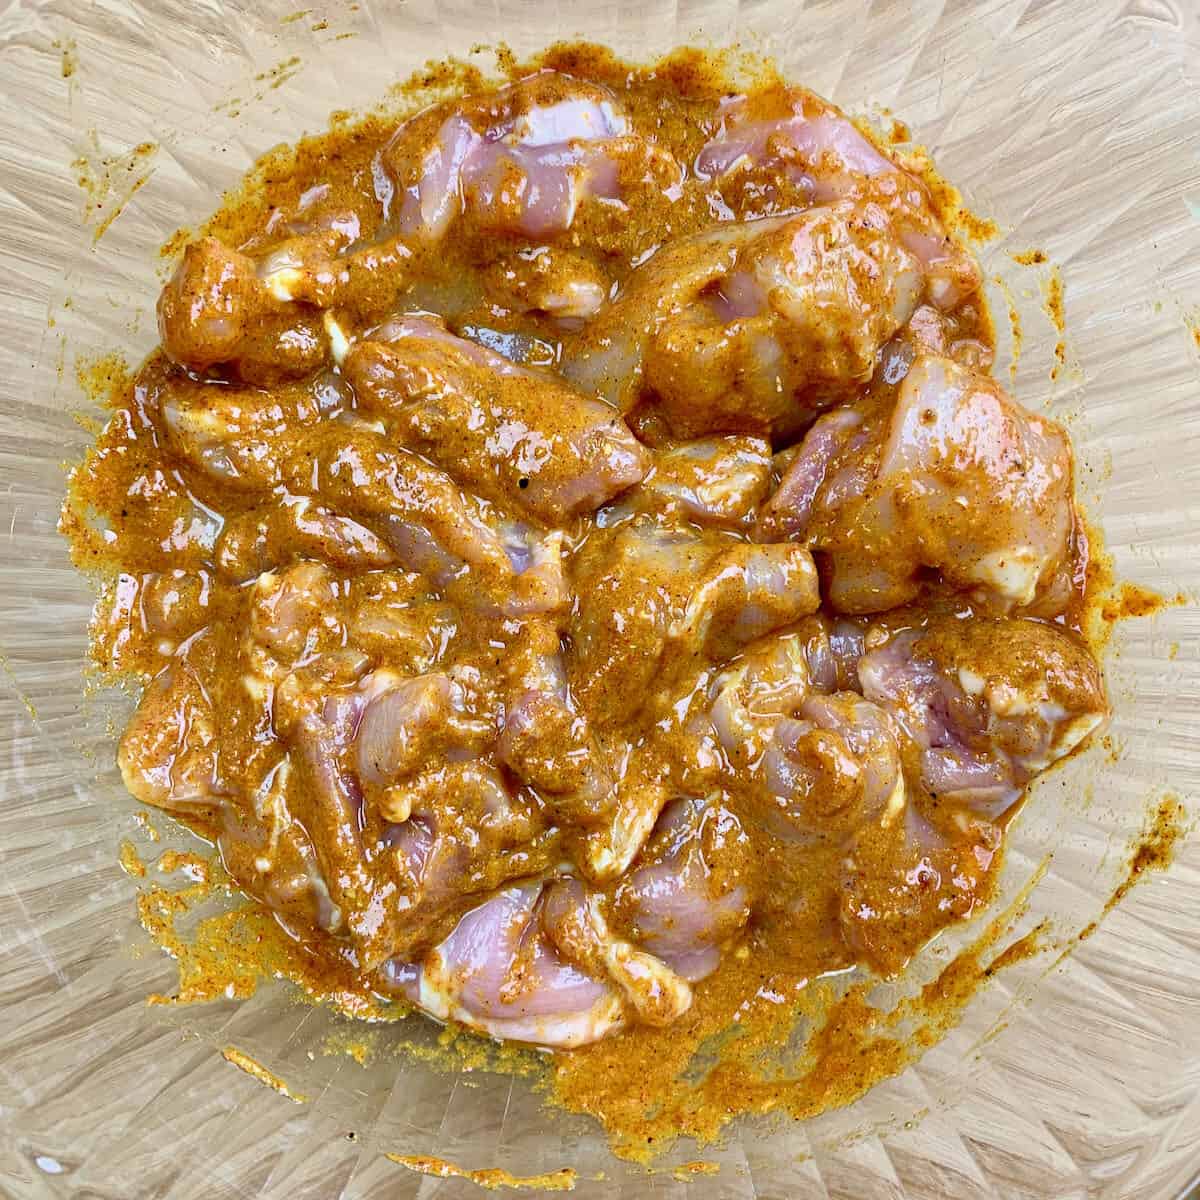
Mix the marinade ingredients except for the chicken. Trim the thighs and cut them into 3 or 4 pieces depending on their size. Stir into the marinade and coat well. Cover and pop in the refrigerator. Marinate the chicken just until you need it in the following cooking process or up to 24 hours.
2. Fry the onions
(If you don't buy them.) In a heavy saucepan over medium-high heat add the oil. When it is hot stir in the onions and allow to cook for 5 minutes or so. Turn down the heat to medium and allow to simmer. Cook until golden brown. Here's more information for cooking onions.
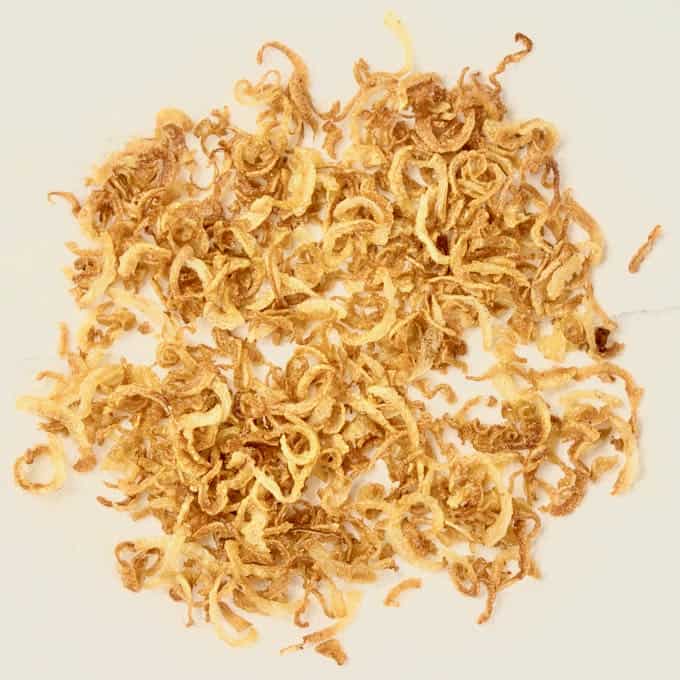
3. Chicken 65 Gravy (Masala)
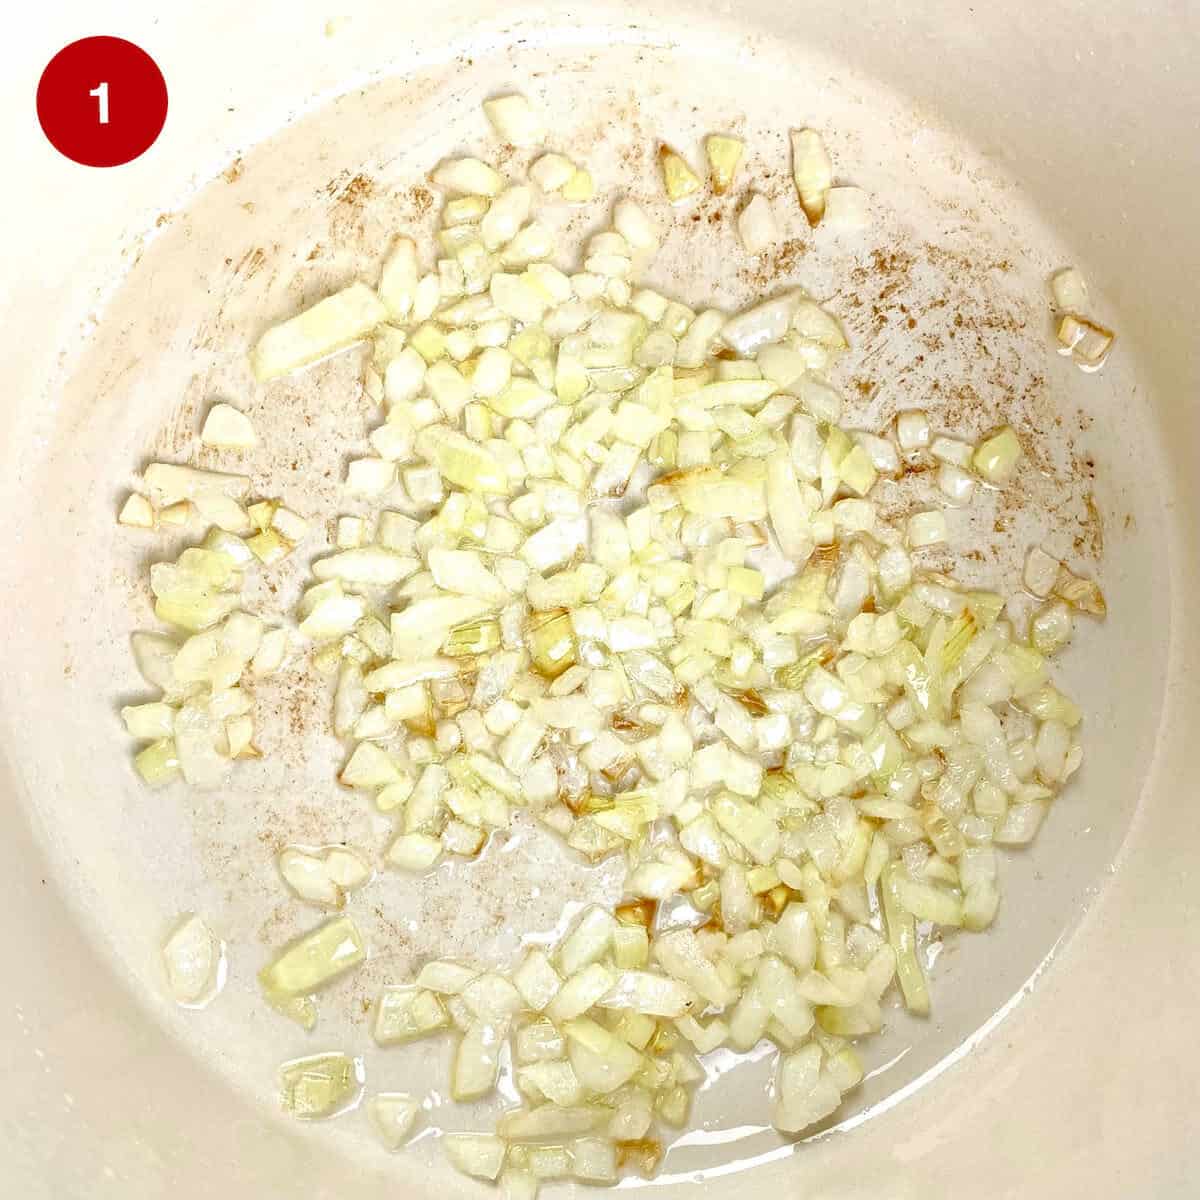
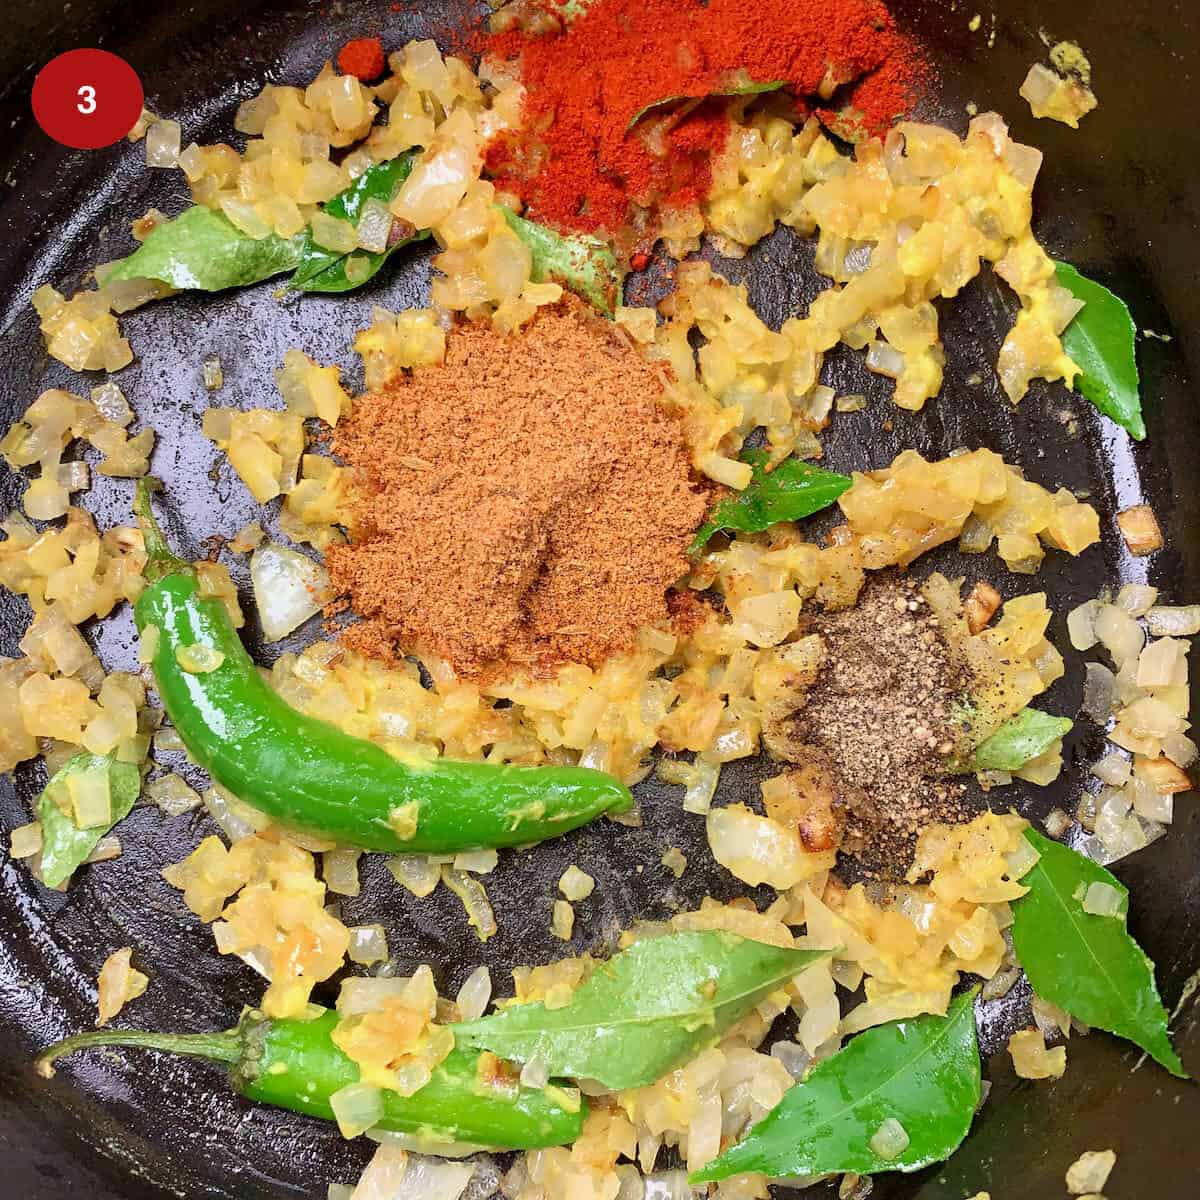
Beginning with the onions, cook until the edges begin to turn golden (1), then add the ginger and garlic paste, curry leaves, and green chilies (2). Cook for several minutes, then add the spices (3). Cook for 3 minutes and then stir in the tomato sauce. Cook for 4 to 5 minutes until the sauce thickens (4). Add the yogurt and set it aside.


4. How to Cook Rice for Biryani
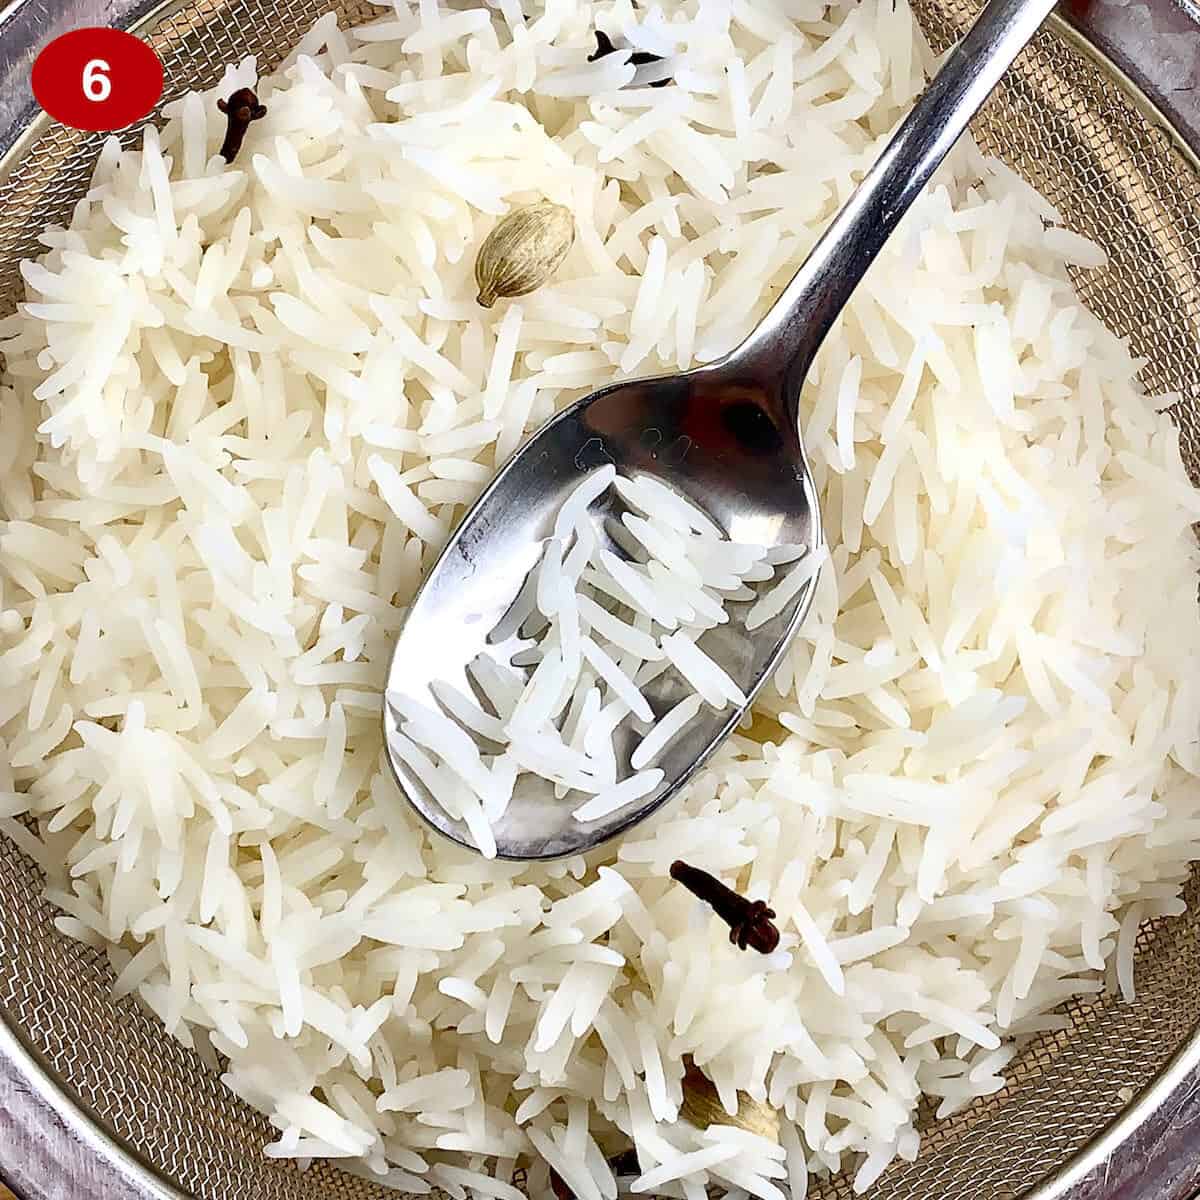
Using the pasta method, in 6 cups of boiling water add the whole spices, salt, and rinsed rice (5). Turn to medium heat and simmer uncovered for 8 to 10 minutes, or until the rice is 75% cooked (6).

5. Cook the chicken
The chicken can be deep-fried or shallow fried on the stovetop. For this biryani, the chicken needs to be cooked all the way through. If you prefer to use the grill, head over to my tandoori grilled chicken thigh recipe for the instructions. Then cut the thighs into bite-sized pieces.
Deep frying: In a heavy-bottomed pot with high sides heat the oil over medium-high heat. When the oil is hot add the chicken in batches and cook until golden-brown and just cooked through.
Shallow frying: Over medium-high heat, add oil to a frying pan. Once the oil is hot, add the chicken and cook on each side for 3 to 5 minutes. You are wanting it to turn a nice brown and be cooked all the way through.

Chicken tikka ready for the broiler.

The chicken tikka finished broiling.
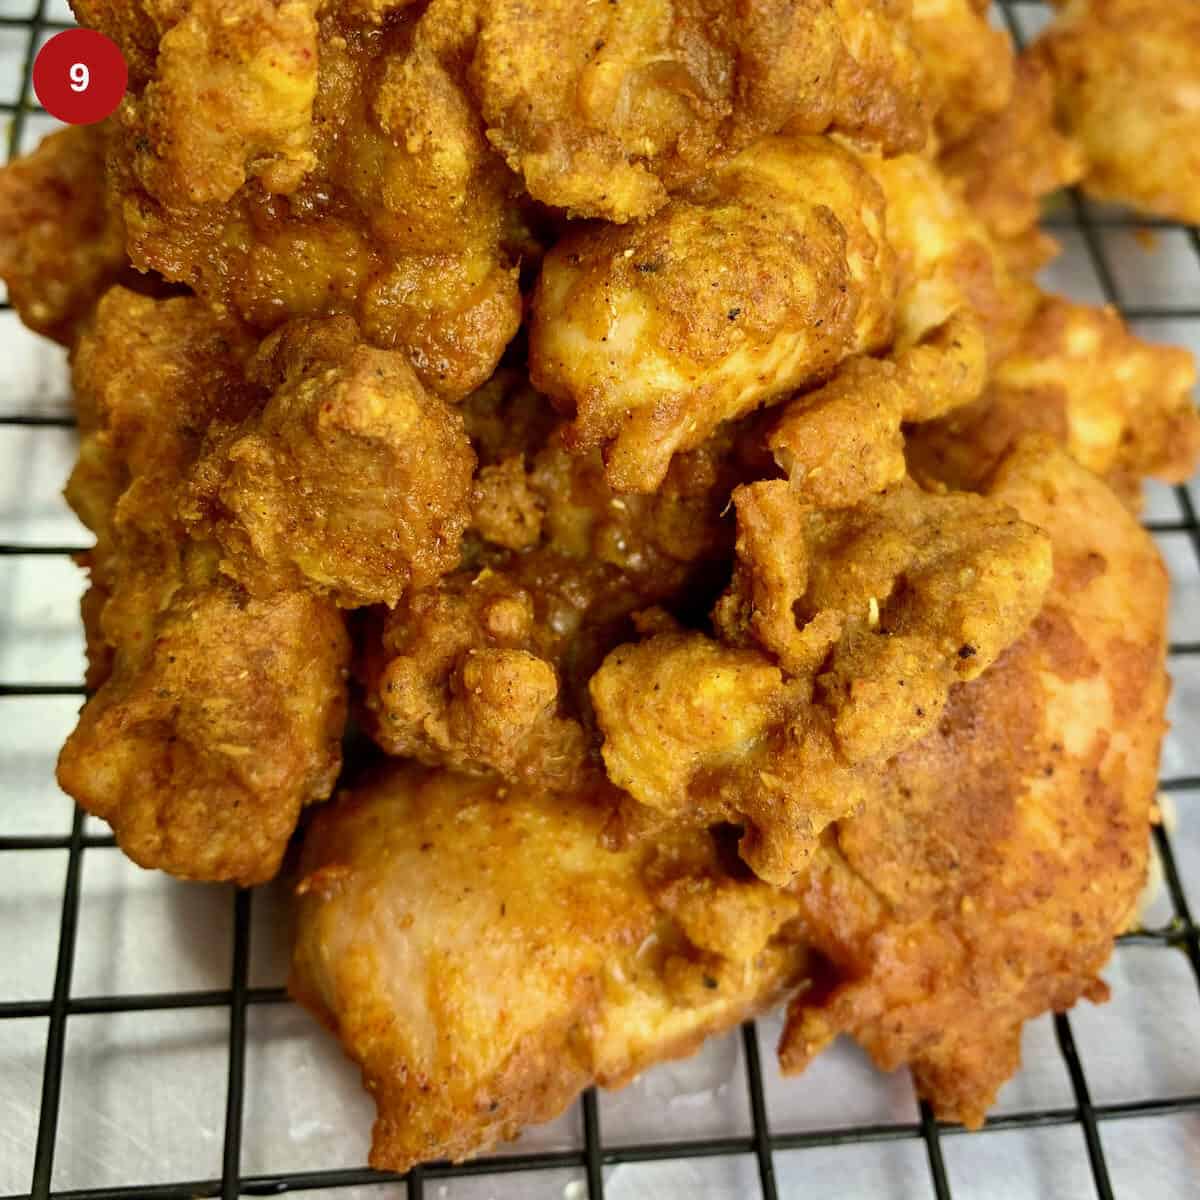
Add the chicken cooked.

The sauced chicken 65 is ready for layering.
6. Layer the biryani
This biryani has four layers. Two layers of rice and 2 layers of sauced chicken tikka.
Layer 1: Half the chicken masala with 2 tablespoons each mint and cilantro stirred in.
Layer 2: (11) Half the rice garnished with a drizzle of 1 teaspoon of ghee, sprinkle 2 tablespoons each mint and cilantro, and 1/3 of the fried onions.
Layer 3: The 2nd half of the chicken. Sprinkle 2 tablespoons each mint and cilantro, and 1/3 of the fried onions.
Layer 4: (12) The 2nd half of the rice. Drizzle the remaining 1 teaspoon of ghee, sprinkle 2 tablespoons each mint and cilantro, and the final 1/3 of the fried onions.

The second layer of chicken is ready for its garnishes.

The final layer of rice with a sprinkling of herbs and ghee.
7. Final 25-minute cook
Cover the biryani with a tight lid and cook over medium-high for 2 to 3 minutes. Turn the heat down to medium-low and cook for another 10 minutes. Turn the heat off and allow the biryani to rest undisturbed for 10 minutes. Serve with raita and a salad.
Frequently Asked Questions
According to the newspaper The Hindu, this dish got its name because the recipe was developed in 1965 at the Buhari's Hotel. Thus the name.
No. I have a substitute using garam masala and a bit more Kashmiri chili powder that comes out beautifully.
Yes! The only downside is it does take a little bit longer to cook.
Since rice is the star of the show, the rice you use matters. Basmati is the best rice for biryani and my favorite brand is the aged Aau Barah (Fawn Brand). My second choice is Royal Chef's Secret Extra Long Grain White Basmati Rice. Find a brand that works well for you.
Tips and Tricks
- To avoid a soggy biryani, the sauce needs to be pretty thick before adding the yogurt. See the photograph (4).
- If you would like to add more chili heat to the biryani, add one or more minced green chilies to the sauce along with the ginger garlic paste.
- Don’t be frightened by the amount of salt in the water used to cook the rice. Most of it gets drained away, but a generous amount is needed to properly season the rice.
- Don’t skip the whole spices when cooking the rice. It helps give the whole dish a wonderful fragrance and flavor.
To Serve
One of the many beauties of biryani is that it doesn't need much accompaniment. My favorite side is simple raita for biryani. Besides that, a quick tomato and cucumber salad would be welcome.
How to Store and Reheat
The biryani will keep well in the refrigerator in an airtight container for up to 3 days. To reheat, spoon out the amount you will be eating. Sprinkle with a bit of water, cover, and reheat in the microwave.
Here are other biryanis you might like to try
Did you try this recipe? I’d love to hear about it! Please rate by clicking stars ⭐️ on the recipe card and/or let me know in the comments below. Thank you! ~Alonna
Recipe Card 📖
Spicy Chicken 65 Biryani Hyderabadi Style
Equipment
- Heavy bottomed pot
Ingrediants
Chicken Marinade
- 1 1/2 pounds skinless boneless chicken thighs ~ Cut into 2-inch pieces. See Notes below
- 2 tablespoons ginger garlic paste ~ Or 1 1/2 teaspoon each ginger & garlic purée. Make it or buy.
- 2 tablespoons lemon juice
- 1 teaspoon sea or table salt ~ Or to taste. If using Diamond Crystal kosher salt, you will need 1 1/2 teaspons.
- 1 teaspoon Kashmiri ground red chili ~ To taste. See sub below
- 1/4 teaspoon ground black pepper
- 1/2 teaspoon turmeric
- 1 teaspoon ground coriander
- 1/2 teaspoon ground cumin
- 1 large egg ~ Beaten
Fried Onions ~ You can Also Buy
- 1/2 cup neutral oil ~ Buy if you prefer
- 2 cups onion ~ Thinly, evenly sliced
Chicken 65 Gravy
- 1 tablespoon ghee or oil ~ Or leftover oil from frying the onions
- 1 cup onions ~ Minced
- 1/2 teaspoon sea or table salt ~ Or to taste. If using a storebought biryani masala, reduce the salt to 1/4 tsp.
- 1 tablespoon ginger garlic paste ~ Or 1 1/2 teaspoon each ginger & garlic purée
- 10 curry leaves ~ Or 2 teaspoons lime zest
- 1 to 4 green chilies ~ To taste. Make a 1-inch slit down opposite sides lengthwise. One chili is mild, 2 is medium, etc. I use Serranos.
- 1/2 teaspoon Kashmiri ground red chili ~ To taste
- 1 tablespoon Madras spice powder ~ Buy or Make; Or see Notes below
- 1 teaspoon biryani masala powder ~ Buy or make. See Notes below for sub
- 1 cup tomato sauce ~ Or fresh tomatoes chopped
- 1/2 cup plain full-fat yogurt
- 1 teaspoon lemon juice ~ More to taste
Cooking the Chicken
- 2 teaspoons all-purpose flour ~ Or tapioca or rice flour
- 2 teaspoons cornstarch
- oil ~ For sautéing or deep frying
Rice Ingredients
- 6 cups water
- 2 1/4 cups basmati rice ~ Use a good quality rice
- 1 cinnamon stick
- 8 whole cloves
- 4 whole green cardamom
- 1 tablespoon sea or table salt ~ Or 2 tablespoons Diamond Crystal kosher. See Notes below
For Layering the Biryani
- 1/2 cup mint ~ Chopped
- 1/2 cup cilantro ~ Chopped
- 2 teaspoons ghee ~ Or melted butter
Instructions
Marinate the Chicken
- In a medium bowl mix together all the marinade ingredients except the chicken. See the Notes below regarding preparing this dish in stages.
- Trim the chicken pieces and cut each thigh into 3 to 4 pieces depending on the size. Stir into the marinade and coat well. Cover and keep in the refrigerator until you are ready. If not using within 4 hours, reserve the lemon juice and stir it in just before cooking.
Fry the Onions (Birista) for Assembling the Biryani
- If needed, see more detailed instructions on cooking onions. In a heavy saucepan over medium-high heat add the oil. When it is hot stir in the onions and allow to cook for 5 minutes or so. Turn down the heat to medium and allow to simmer.
- When the onions begin to brown, watch them closely. You want to remove them from the oil a shade lighter than you want them to be. They will continue to cook and darken for several minutes after removing them from the oil.
- Drain the onions on paper towels and allow them to cool for 5 minutes or more. You can make the fried onions 3 days ahead; store in an airtight container at room temperature. Freeze after that.
Cook the Sauce for the Chicken
- Ideally In a heavy-bottomed pan large enough to hold the finished biryani, (I find a 4-quart dutch oven works well) over medium-high heat add the oil. If use the leftover oil from frying the onions if you wish. When the oil is hot stir in the onions and the salt. Cook for 4 to 5 minutes or until the edges begin to brown.
- Turn the heat down to medium. Add the ginger garlic paste, curry leaves, and chilies. Stir for a minute or two until the paste no longer smells raw.
- Add the ground spices and stir for 2 to 3 minutes until they are fragrant. Add the tomato sauce and cook until it reduces and darkens a shade. This takes 4 to 5 minutes. You want a fairly thick sauce at this point. If you are using fresh tomatoes it will take a couple more minutes to reduce.
- Add the yogurt and 1 tablespoon of water and cook for another 2 minutes. If you are storing the sauce for more than an hour and you are wanting to watch the heat level, remove the chilies first.
Cook the Rice
- Gently rinse the rice in a bowl filled with water to cover it. Rinse until the water is clear enough to see your hand. About 3 to 4 times.
- In a large pan over high heat, bring 6 cups of water to boil. Stir in the salt, whole spices, and rice. Lower the heat to medium-high and cook at a boil for 7 to 8 minutes and then check the rice. It should be 75% done. Break a grain of rice and there should be a tiny white uncooked core in the center.
- Drain and set the rice aside. You can remove the whole spices at this point if you don't want them in your biryani.
Cooking the Chicken
- Stir in the flours you are using into the marinaded chicken. Really any combination of flour works, or even all all-purpose (maida) flour is fine. If you have marinaded the chicken for longer than 4 hours and hadn't added the lemon juice, add it now.
Deep Frying
- In a heavy pot with high sides, heat 3 inches of oil over medium-high heat. You are looking for a temperature of 350°F (180°C). If you don't have a thermometer, drop in a bit of the marinade into the oil. If it pops up to the top your oil is hot enough.
- Without crowding the pan, carefully drop in about 1/2 of the chicken. Stir gently to make sure nothing is sticking together or to the bottom of the pan. Cook for 5 to 8 minutes or until the chicken is a deep golden brown.
- The chicken should be cooked through. Thigh meat is best at 175°F (80°C) to 190°F (90°C) degrees. but you will be cooking the assembled biryani so cook to 175°F (80°C) for thigh meat, and chicken breast to 155°F (68°), at this point.
OR Shallow Frying
- Over medium-high heat add oil in a frying pan so it is 1/4-inch deep. Use the strained oil leftover from frying the onions if you wish. When the oil is hot add the chicken pieces being sure not to crowd the pan. Cook on each side for 3 to 5 minutes. You are looking for a nice brown and be cooked all the way through.
- See temperature recommendations in the step above. Depending on the size of your pan you will probably need to do this in 2 batches.
Layering the Biryani
- After you have stirred the chicken and yogurt into the sauce, taste for seasoning (salt, lemon juice, and chili powder). Then remove 1/2 the chicken mixture.
- Fish out the whole spices and chilies if you prefer. Stir in 2 tablespoons each mint and cilantro into the remaining chicken.
- Layer half the basmati rice over the chicken. Drizzle 1 teaspoon of ghee, sprinkle 2 tablespoons each mint and cilantro, and 1/3 of the fried onions.
- Spoon the rest of the chicken over the rice. Sprinkle it with 2 tablespoons each mint and cilantro, and 1/3 of the fried onions.
- Layer the second half of the rice on top of the chicken. Drizzle the remaining 1 teaspoon of ghee, sprinkle 2 tablespoons each mint and cilantro, and the final 1/3 of the fried onions.
Cook the Assembled Biryani
- Cover the biryani with a tight lid and cook over medium-high for about 1 to 2 minutes. You want the biryani hot enough to begin steaming. Turn the heat down to low and cook for another 10 to 15 minutes.
- The heat you cook the biryani depends on your stove and the pot you are using. But use the lowest setting that allows the biryani to get hot enough to steam for about 5 minutes. Start the heat on low, then check at the 5-minute mark to see it is steaming. If not, turn the heat up a bit.
- Remove the biryani to rest covered and undisturbed for 10 minutes. Serve with raita and a salad.
Storing & Reheating
- The biryani will keep well in the refrigerator in an airtight container for up to 3 days.
- To reheat, spoon out the amount you will be eating. Sprinkle with a bit of water and reheat in the microwave.
Notes
- I am a chicken thigh person. The meat is tender, flavorful, and hard to overcook. If you want to use chicken breast in this recipe, cook it until it is almost cooked through (155°F (68°C). You will be cooking everything together so you don't want to overcook the white meat at this point.
- Substitute for Kashmiri chili powder: For each teaspoon of Kashmiri chili powder sub 3/4 teaspoon paprika (or sweet), and 1/4 teaspoon cayenne powder.
- Substitutes for Madras curry powder:
- 2 teaspoons biryani masala
- 1/4 teaspoon garam masala
- additional 1/4 teaspoon of Kashmiri chili
- Biryani masala powder substitute: Garam masala which you can buy or make.
- SHORTCUT: Feel free to buy fried onions or shallots if you prefer.
- Method for cooking the chicken: While the chicken in Chicken 65 is typically deep-fried, I tested cooking it under the broiler. I wasn't a big fan of the results because the chicken didn't brown very well. But if you are concerned about how much oil you use, head on over to my tandoori tikka biryani for instructions on cooking the chicken under the broiler.
- About Salt: It may seem like a lot of salt, but this is the only opportunity you will have to season the rice, and most of the salt will be drained off.
- If you want to break down the steps to make the recipe more manageable, I like to make the sauce, fry the onions, marinate and cook the chicken up to 2 days before. Before serving, cook the rice, chop the herbs, and layer the biryani. Assemble the layer and do the final 25-minute cook and resting time.





Leave a Reply