Table of contents
All About Biryani
The beauty of biryani is that you can make it your own depending on your mood, how you like to eat—vegetarian or not—and who you are feeding. I’ve even seen a rice dish called a biryani without a star ingredient besides beautifully spiced rice.
If you do a deep dive into a biryani, you notice two things. One is that biryani differs from a pulao because of the cooking method. Biryanis are a layered dish, and pulaos are cooked with rice mixed together with a vegetable or protein.
Within the biryani world, the two most common methods are the Hyderabad pakki (cooked) style. This means that both the meat or vegetables and the rice are cooked separately. The biryani is assembled by then layering and cooking everything together for 15 minutes, to marry the flavors.
The second type of North Indian biryani is made using uncooked rice and spiced meat, usually chicken or lamb. This method is called kacchi, and calls for layering the meat and rice and then cooking them together from start to finish.
It should be no surprise that other regions of India besides Hyderabad claim to have the best biryani. Lucknow, for instance, has a biryani that harkens back to Persian Nawabs of Awadhi, a region in the state of Utter Pradesh in northern India. This biryani is called dum pukht, and it has layers of partially cooked mildly spiced meat or chicken, and partially cooked rice cooked together into a glorious savoriness.
This Recipe
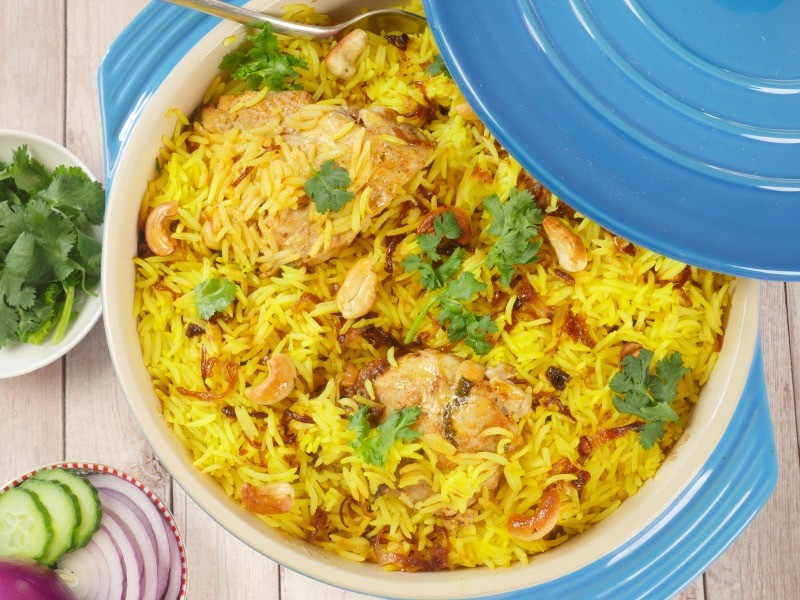
Now to my recipe for Goan-style chicken biryani. While Goa is not famous for its biryani, it is certainly eaten and loved there. I’ve taken inspiration from the Goan Vlog Fatimas Cuisine, where Fatima Lavina Fernandes makes a biryani flavored with Goan spices.
This biryani is made in the pakki fashion because both the rice and the meat are fully cooked. They are then layered together and baked in the oven for 15 minutes. It is possible to do the final cooking on top of the stove on a low flame, and I give tips below on how this is done.
Serving ideas
Biryani is a complete meal in itself, although simple raita and salad is an easy way to round out the meal. This is perfect entertaining cooking. The chicken and rice can be cooked, layered, and refrigerated. The final stay in the oven can be done while the appetizers are served.
It is definitely a commitment to make this Goan chicken biryani, but it makes a fun weekend project. Biryani is so delicious that it makes a lovely way to show how much you love the ones you are feeding.
Happy cooking!
~ Alonna
Here are other memorable biryanis to try:
Recipe Card 📖
Goan Chicken Biryani
Ingrediants
Chicken and Onions
- 2 pounds skinless, boneless chicken thighs
- 3 tablespoons neutral oil
- 1 1/2 cups onion ~ Thinly, evenly cut
- 10 whole cashews ~ For garnish
MARINADE
Goan Spice Mix (Dry Marinade)
- 2 inches cinnamon stick
- 1/2 teaspoon black cumin seeds ~ Regular cumin is fine
- 6 whole green cardamom
- 6 whole cloves
- 1/2 teaspoon whole peppercorns
- 2 teaspoons Kashmiri ground red chili ~ Substitutions, and to taste
- 1/2 tablespoons garam masala ~ Ideally a Goan garam masala
- 1 1/2 teaspoons sea or table salt ~ Substitutions. See Notes below
Wet marinade ingredients
- 1/2 of the onions you fried above
- 1/2 cup plain yogurt ~ Non-dairy if you prefer
- 2 tablespoons neutral oil ~ Optional, I accidently omitted and it was still delicious
- 1/3 cup cilantro ~ Chopped
- 4 teaspoons ginger garlic paste ~ Or 2 teaspoons each puréed ginger and garlic
Rice
- 1 1/2 cups basmati rice
- 1 teaspoon neutral oil
- 1 teaspoon ghee ~ OR 2 teaspoons of oil or ghee
- 1/4 teaspoon turmeric ~ Or a few drops of yellow food color ~ Optional
- 1 stick of cinnamon
- 3 whole cloves
- 3 whole cardamom
- 3 cups water
- 3/4 teaspoon sea or table salt
Instructions
- Gather ingredients for the chicken and onions.
- Gather ingredients for the marinade.
- Gather the ingredients for cooking the rice.
- Gently rinse the rice in a bowl filled with water to cover it. Rinse until the water is clear enough to see your hand.
Onions
- In a heavy saucepan heat the oil over medium-high heat. Add the onions and a big pinch of the salt, 1 1/2 teaspoons (to taste) of salt you will be using for this dish. Cook for 8 to 12 minutes stirring occasionally.
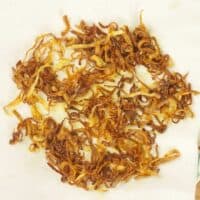
- If you are a multi-tasker, measure out the dry spices for the marinade and begin the toasting process. When the onions begin to brown, turn the heat down to simmer and continue to cook until the onions are a shade lighter than you are looking for because they will continue to cook and darken for several minutes after removing them from the oil. This step will take about 15 more minutes. Be sure to stay nearby, as the last couple of minutes goes quickly. Drain the onions on paper towels and allow them to cool. Use half of the onions for the marinade and set aside the other half for garnishing the biryani just before serving.
Cashews
- In the same pan over medium-high heat, toast the cashews until gold brown. This will take 3 to 4 minutes. Set aside until just before serving
Marinade
- In a small pan over medium heat add the cinnamon, cumin seeds, cloves, cardamom, and peppercorns. Toast for 2 to 3 minutes, or until fragrant. Grind to a powder in a spice grinder or mortar and pestle. Stir in the Kashmiri red chili powder, garam masala, and salt.
- In a bowl large enough to hold the chicken, mix together both the wet and dry marinade ingredients. Add the chicken and stir to coat the chicken. Set aside.
Rice
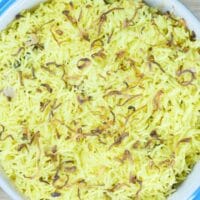
- While the chicken is marinading, make the rice. Add the ghee and oil to a medium-sized saucepan over medium heat. Stir in the cinnamon, cloves, and cardamom and toast the spices about 2 minutes, or until fragrant. Pour in the water, cover with a lid and turn the heat to high. When the water is boiling stir in the drained rice, bring to a boil. Turn the heat down to the temperature you need to keep the water at a steady simmer.
- Boil for about 5 to 9 minutes or until you see the rice has craters on the top. Stir the rice, redistributing the rice, cover the pan with a tight-fitting lid, and reduce the heat to the lowest setting. Cook for 5 minutes, then turn off the heat and let the rice sit on the same burner for 10 minutes without stirring. Fish out the whole spices and discard.
Cooking the chicken
- While the rice is cooking, put the chicken in a large saucepan or dutch oven. Using 1/2 a cup of water, rinse out the bowl you just used for marination, and pour the water over the chicken. Stir well. Bring to a boil and then cover and turn down to a very low simmer. Cook until the chicken is done. This will take between 20 to 30 minutes depending on how large your chicken pieces are.
Baking the biryani
- Preheat your oven to 350°F (180°C). In a large shallow ovenproof lidded dish, layer your rice and chicken beginning with half the rice. Add the chicken in one layer and sprinkle with half of the remaining onion. Layer the rest of the rice on top to cover the chicken.
- Cover with the lid and bake for 15 minutes. If you have layered and refrigerated your biryani ahead of time, allow it to sit at room temperature for 30 minutes to warm up. You may need an extra 10 minutes in the oven depending on how warm your kitchen is. If you prefer to finish your biryani on the stovetop see the Notes below.
- Serve the biryani with a simple raita and salad.
Notes
- To finish on the stovetop:
-
Cover the biryani with a tight lid and cook over medium-high for about 2 minutes. You want the biryani hot enough to begin steaming. Turn the heat down to medium-low to low and cook for another 10 minutes.
-
The heat you cook the biryani depends on your stove and the pot you are using. But use the lowest setting that allows the biryani to get hot enough to steam for about 5 minutes. Check at the 5-minute mark to see it is steaming. If not, turn the heat up a bit.
-
Remove the biryani to rest covered and undisturbed for 10 minutes. Serve with raita and a salad.
- Non-dairy yogurt: If you avoid dairy, use an unflavored non-dairy yogurt for marinating the chicken, or skip the yogurt altogether.
- About Salt: It may seem like a lot of salt but this is the only opportunity you will have to season the rice, and most of the salt will be drained off.







Leave a Reply