Top 20 Dish! Get my free e-Cookbook: “The 20 Top Dishes in India”
Breakfast or a Snack!
Idlis and dosas (a very thin and crispy crepe) are two of South India’s gifts to the world. Delicious and healthy, idlis are traditionally made from the same batter used to make dosas. The basic ingredients are soaked rice and urad dal, with a few fenugreek seeds for flavor and to aid with fermentation. The rice and dal are soaked separately for about 6 hours (or overnight). They are then blended to a fine paste and allowed to ferment overnight. There are also “instant” idli batter recipes that call for rice flour or roasted semolina (shoji).
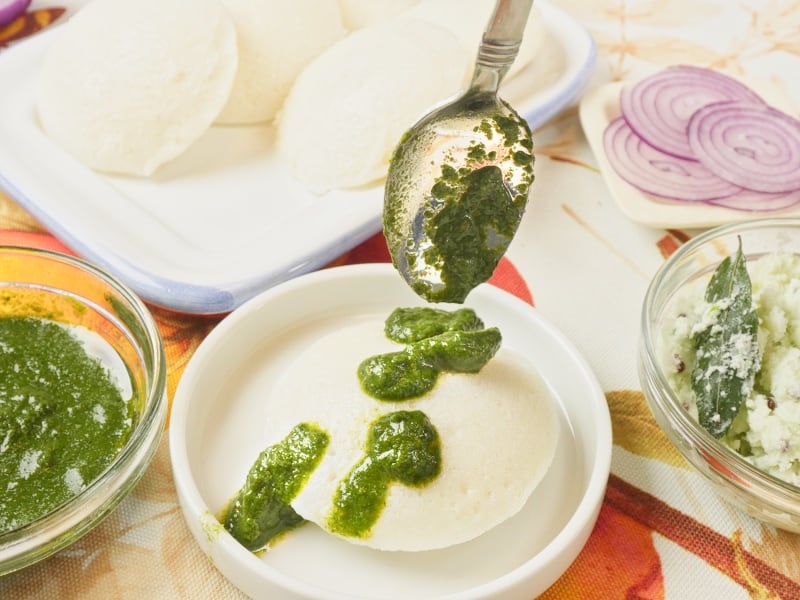
Idlis make an excellent start to your day with some lovely sambar to dip into. But they are also welcome any time during the day as a snack or appetizer. They can be made in two sizes: they are typically about 3 inches across, or there is the adorable button idli. This bite-sized miniature idli is especially fun for kid's snacks or adult appetizers.
Flavoring Idlis
Idlis are made with either a plain or flavored batter. Think South Indian coconut, mustard seeds, and curry leaves. Even Sichuan idli is a thing. The pulses and grains can be changed up to your taste. It isn’t uncommon to swap out some or all of the rice for millet, oats, or semolina as an example of just a few of the options. Depending on the ingredients you use, you do not need to go through the fermentation step.
Another way to flavor idlis is to stuff them with masala or chutney. Taking some potato curry (dosa masala) or tomato chutney and stuffing it into the idlis is a popular twist on the idli theme. It is fun to watch Chef Sanjay Thumma make stuffed idlis five ways.
Homemade Idli Recipe
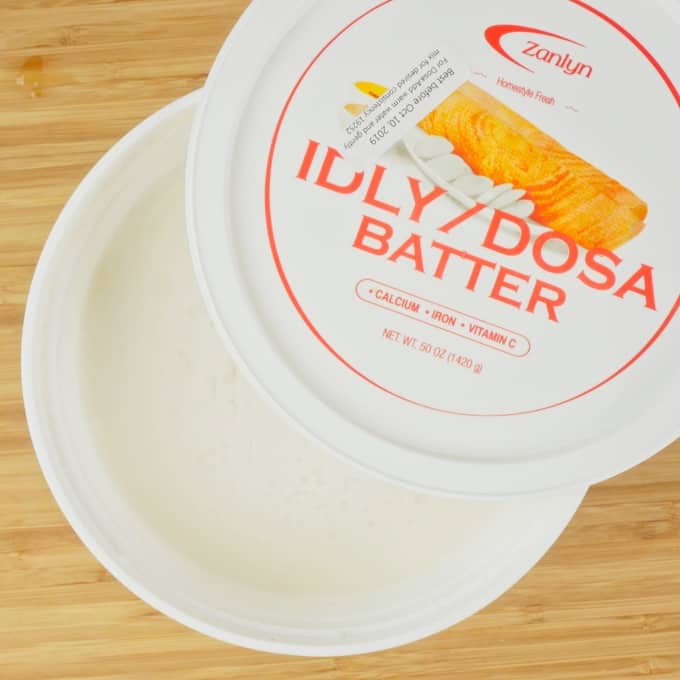
I have to admit to some anxiety when facing the idli and dosa batter process but felt a little silly on the other side of a successful fluffy, fermented batter. If you are short on time and you have a local Indian grocery, they will most likely have refrigerated dosa and idli batter. I have had good luck with the Zanlyn brand. Another option is dried boxed powder, but I have not tried this, so I cannot recommend it.
I hope you will be braver than me and make your own idli dosa batter soon! Please link through to my dosa recipe for a step-by-step recipe for a light, gluten-free, dairy-free, and healthy dosa and idli batter.
Making homemade idlis is the only Indian dish that I have made so far that requires a special piece of equipment. I use a Tabakh 6 rack idli maker that cooks four idlis per rack, for a total of 24 idlis at a go. There are idli inserts for your Instant Pot as well.
- Oil each mold and fill only halfway with the batter because they will puff up as they cook.
- Pour an inch of water into the bottom of the idli pot and place it on a burner over medium-high heat.
- Place the trays into the idli pot and cover with the lid.
- Steam for 10 minutes, then test with a toothpick or knife. If it comes out clean, the idlis are done.
- With a small bowl of water, dip a spoon into the water and gently working around the edges, scoop the idlis out of the molds and serve.

Oil the Idl pan 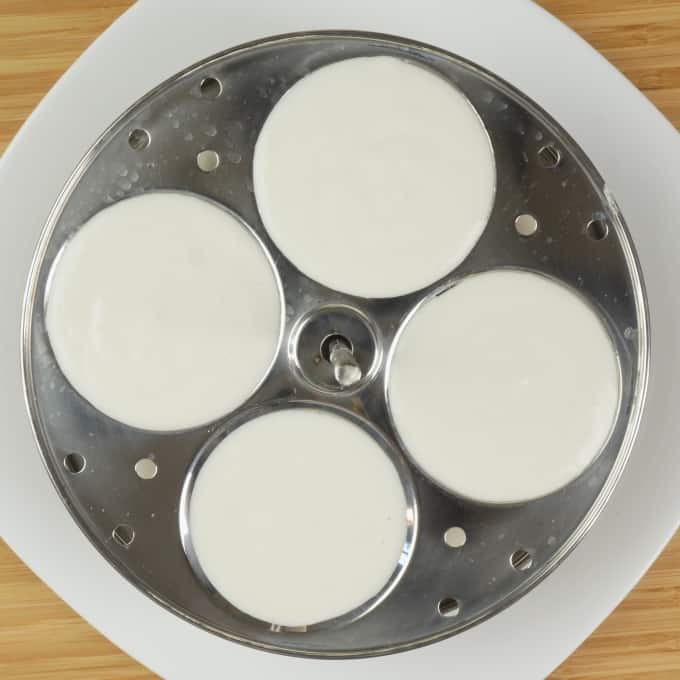
Pour in the batter 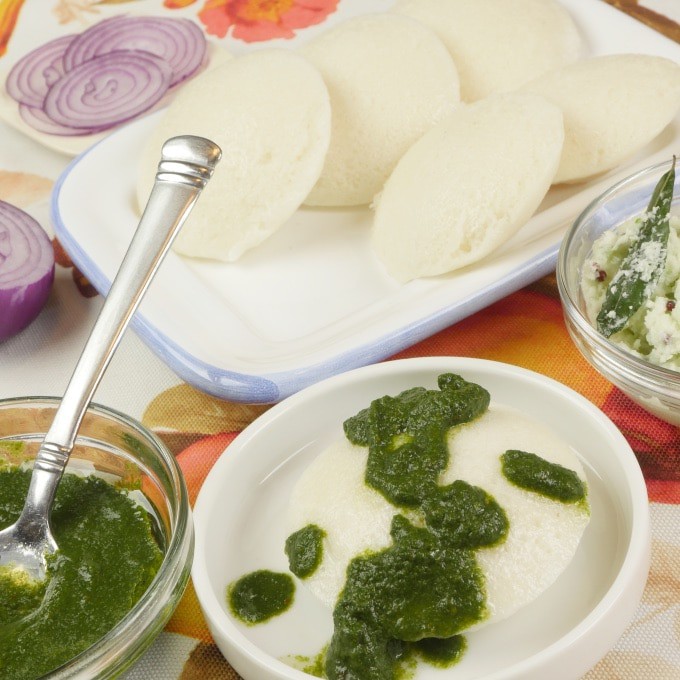
Enjoy!
Accompaniments
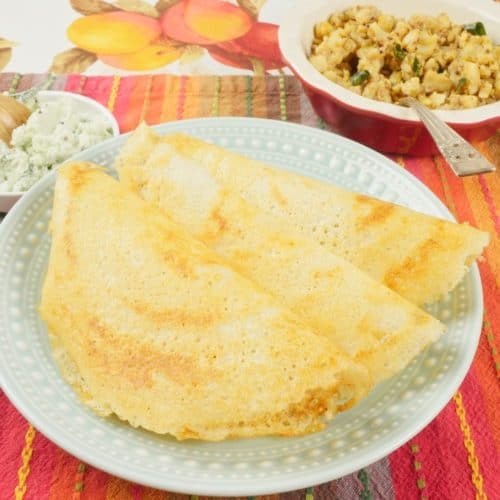
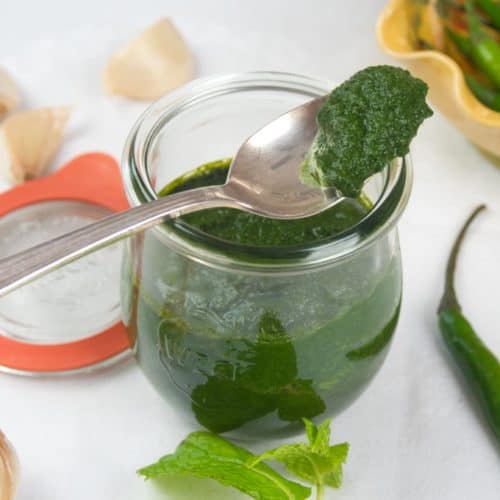
One of the most popular accompaniments for idli is sambar/sambhar. A South Indian stew, sambar is made from lentils, vegetables, and a spice mix that can be homemade, but is often purchased. It is served with meals and is used to dip idlis in to add a savory bite. Podi masala is another crave-able way to eat idli. Podi is a coarse spice mix with chilis and various combinations of spices and other flavorings.
If you love fiery foods, you will want to try a dry chutney from Vidya of Traditionally Modern Food: gunpowder or milagai podi. It is called gunpowder, because of the heat from red chilies. However, eating idlis with your favorite chutney, homemade or bought, is a lovely way to eat these treats. Sambar or peanut chutneys are especially fine!


Recipe Card 📖

Making Dosa at Home
Equipment
- 10- inch or larger seasoned cast iron skillet, tawa/tava, or griddle. My preference is a non-stick griddle or crepe pan.
- Large 4-quart or larger non-reactive bowl
- Strong blender or wet grinder, or personal blender
Ingrediants
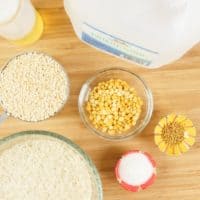
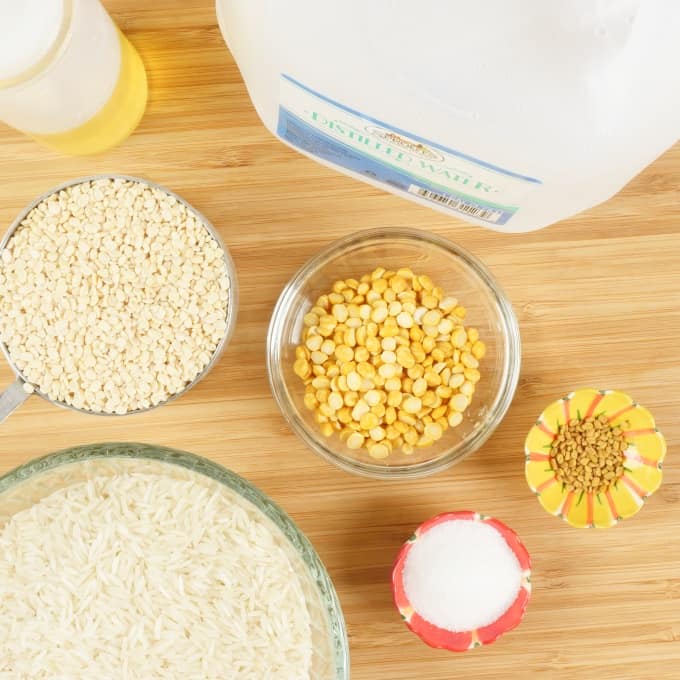
- 2 cups white rice ~ See Notes below
- 1 gallon filtered (non-chlorinated) water
- 1 cup urad dal
- 3 tablespoons chana dal
- 1/2 teaspoon fenugreek (methi) seeds
- 2 1/2 teaspoons sea or table salt ~ Non-iodized salt; Substitutions
- 1/4 cup oil ~ Coconut, or oil of your choice
Instructions
- Gather your ingredients.
Making the Dosa Batter
- In a large bowl, place the rice and rinse 3 to 4 times until the water runs almost clear. Cover with fresh water to about 3 inches above the rice. Cover with a lid, saran wrap or towel, allowing there to be an opening so that air can be exchanged.
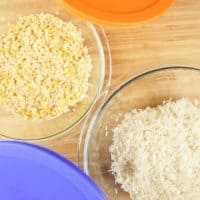
- In a medium-sized bowl, add the urad dal, chana dal, and the fenugreek seeds and rinse in 2 to 3 rinse until the water runs almost clear. Cover with water that comes about 3 inches above the dal. Cover as above.
- Allow the rice and dals to soak for a minimum of 4 hours, but ideally 8 hours, or overnight. The longer you soak (not longer than 24 hours), the easier it will be to grind the rice and dal. Drain the rice and reserve the soaking water. Drain the dal and discard the water.
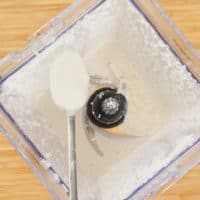
- Place the rice in a reasonably powerful blender, an Indian wet grinder, or a personal blender such a Bullet or Tribest. You may have to do this in batches, depending on the equipment you are using. Please review the Notes below for more details on processing the rice and dals.
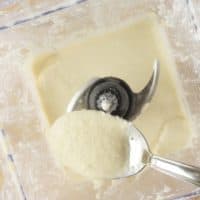
- Add 1/4 cup of the soaking water to the rice. Start on low speed, add another 1/4 cup of the reserved water, then turn the blending speed to high. Add more water if needed to keep the blender moving, 2 tablespoons at a time. You are looking for a mostly smooth batter, with a slight graininess left when you rub between your fingers. This can take between 2 minutes to 10 minutes, depending on your equipment and how long your rice was soaked.
- If you over-process the rice, your dosas won’t be crispy enough. See my the Notes below about not overheating the batter. You are looking for the consistency of thick pancake batter. As long as the grinder or mixie/blender is running smoothly don't add water, but if you see it slowing down or come to a stop, then add water. Typically it is about 1/2 to 3/4 cup of water depending on the rice you used. Don't add any more water than necessary, because a thicker batter will rise better. Move rice batter to a non-reactive bowl that holds 4-quarts or more.
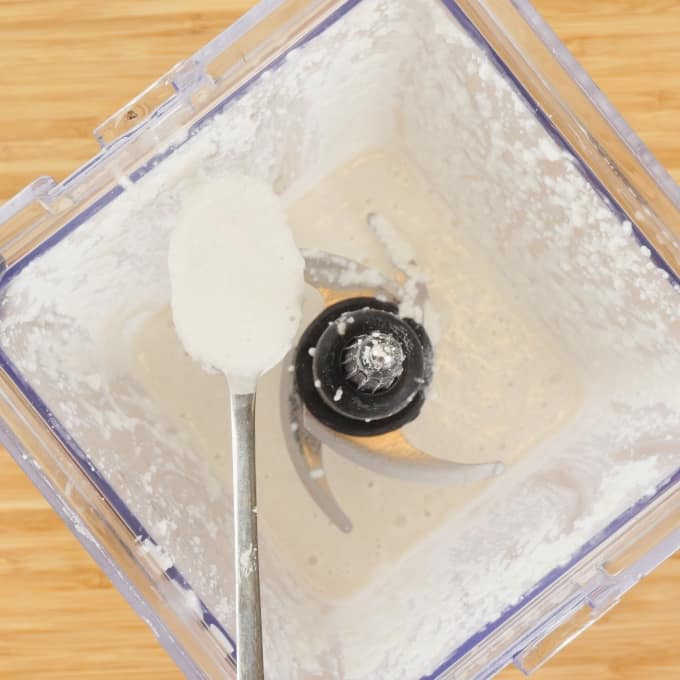
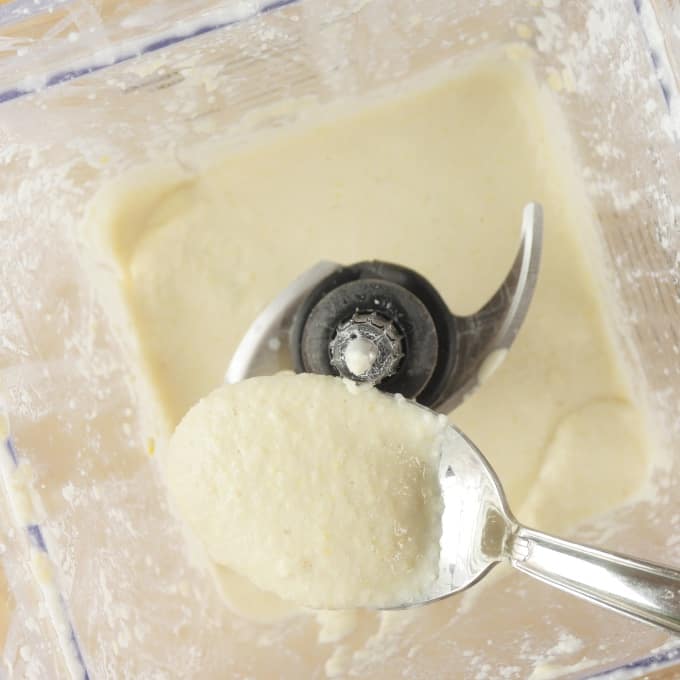
- Add the dal and methi seeds to the blender with 2 tablespoons of the reserved rice water. (No need to clean out the blender first.) Start the blender on low speed for a minute or so until the dal begins to break down. Increase the speed to high and add water as need in increments of 2 tablespoons at a time. Stop every now and then to scrape down the sides. You will probably need about 1/2 cup to 3/4 cup of water. Process until the batter is smooth, and it becomes light and fluffy, with a pancake batter consistency. This will take about 3 minutes, depending on your blender.
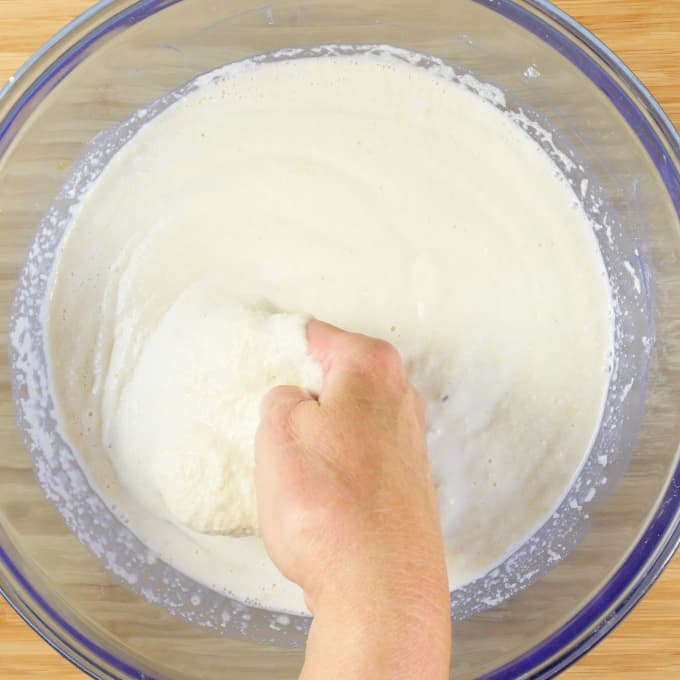
- Pour the dal batter in with the ground rice, and using a clean hand, mix the two together well for 3 to 5 minutes. It is believed mixing with your hands, aides in the fermentation. Feel free to mix with a spoon if you prefer. To my mind, anything that helps with a proper fermentation, whether real or imagined, is worth trying.


Fermenting and Preparing the Dosa Batter
- Cover with a clean towel or loose-fitting lid, place on a baking tray to catch any drips from bubbling. Keep the batter in a warm, draft-free spot, ideally at about 90°F (32°C). See my 9th Note below. Depending on the warmth of your kitchen, fermentation can take between 12 to 24 hours. The batter should almost double in size and be thick and foamy with lots of little bubbles. I have also successfully fermented this batter in the Instant Pot. Even though the batter doubles in size, this amount should not bubble over, unless you leave it to go too long. See Notes below on this method.
- Dissolve salt in 1 cup of water and whisk gently into the batter because you want to preserve as much of the light and airy texture as possible. There may be a hardened layer on the top of the batter that you should mix in. Cover the bowl with a lid or saran wrap and refrigerate for 2 hours before you make your dosas.
Cooking the Dosa
- If you prefer to buy dosa batter, I've had good luck with the Zanlyn brand.

- Remove the dosa batter from the refrigerator 30 minutes before cooking; room temperature batter wil .help keep the dosa from sticking to your pan. Whisk to mix thoroughly and add water if the batter is thicker than pancake batter.
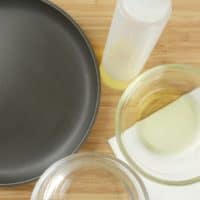
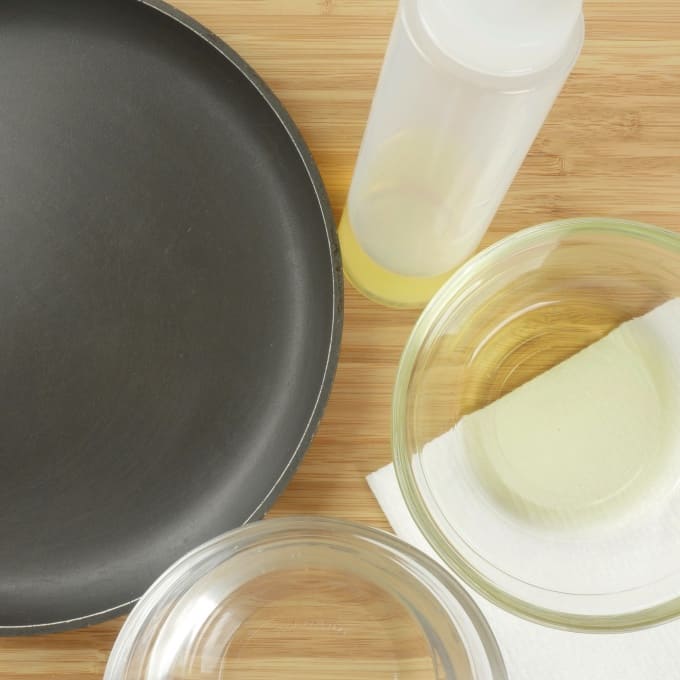
- Prepare for cooking by filling one small bowl with water and one small bowl with 1/4 cup oil. Take 3 layers of paper towels and fold in half and then in half again. If you have a squeeze bottle, fill with 1/4 cup oil for drizzling over the dosa as it cooks. Alternatively, you can use a small spoon.
- Heat a seasoned cast-iron pan, a tawa, or griddle over medium-high heat. To test whether your pan is at the right temperature, add a few drops of water; it should sizzle immediately. Take a folded paper towel, dip into the water, then lightly dip into the oil and rub over the surface of your pan. This will bring down that temperature as well as lightly oil the surface.
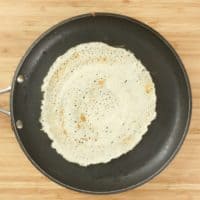
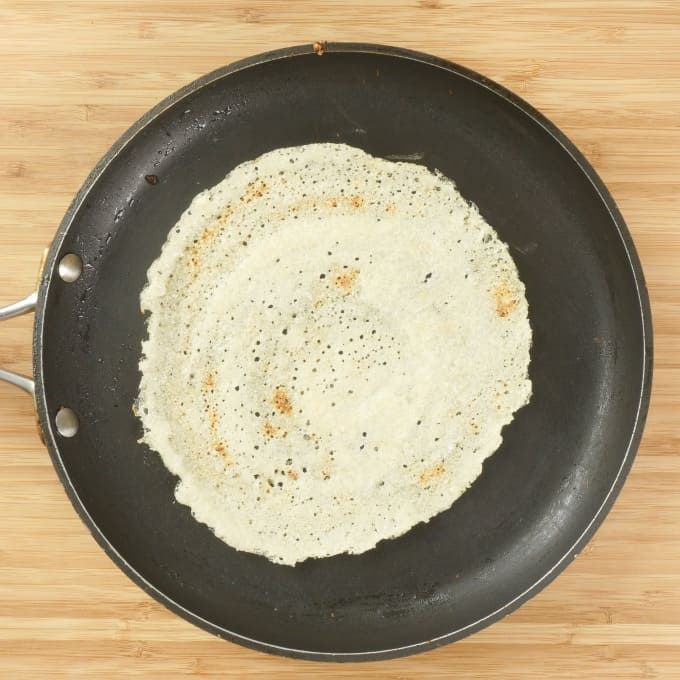
- Ladle a 1/4 to 1/3 cup of batter, depending on the pan you are using, in the center of the pan. Using the bottom of a ladle or measuring cup, starting in the middle, quickly and steadily move the batter in ever-widening circles, leaving a thin layer of batter. You can take a spatula and even out some of the thicker spots if you wish.
- When the batter begins to dry out, and small holes form, using the squeeze bottle or small spoon, drizzle 1 to 2 teaspoons of oil on top of the batter to help the dosa brown and crisp up. After 2 to 3 minutes, when the edges and bottom of the dosa is browned, turn it over and cook for another 2 to 3 minutes, until the other side is lightly browned.
- Continue making the rest of the dosas, continuing to check the heat level of your pan with a spritz of water, and using the paper towels dipped in water and oil. Regulate the temperature of the burner as needed so that the dosas don’t burn before they cook through. If you want a soft and crispy, you want your temperature on the high side; if you want an even crispier dosa, lower the heat slightly.
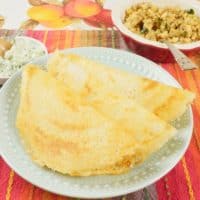
- In the words of Julia Child, you need to show your dosa mixture the confidence of your convictions. I find the trickiest part of making dosas is the spreading of the batter in the pan. Practice makes perfect, and you must show the batter who is the boss. The fermented batter will keep in the refrigerator up to 10 days, or frozen for up to three months.
- This recipe makes 1 1/2 to 2 quarts of dosa batter. This yields 8 to 10 dosas.
Notes
- Serve with sambar, a podi (a coarse spice mix), or your favorite chutney. If you like, fill the dosa with Yaman Agarwal of the vlog CookShooking, which is called dosa masala.
- I have had good luck making dosa with basmati rice. You can also use parboiled (Ponni) rice or Italian Arborio white rice.
- Channa dal gives a nice color and flavor to dosas and idlis.
- After you master the dosa basics you can play with the rice to dal ratio. For crisp dosas use the above ratio. For a softer dosa use a 2:1 rice to lentil batter. The higher the lentil proportion the softer the dosa will be.
- Fenugreek (methi) seeds are added for flavor and to aid in fermentation.
- Salt is added after fermentation, as it can slow down the fermentation process.
- My preference is to use a non-stick 10-inch skillet with low sides, making it easier to spread the batter and giving me the perfect sized dosas.
- If you want to skip the batter making step altogether, most Indian groceries sell dosa batter in the refrigerator section. I have had good luck with the Zanlyn brand of fermented batter. There are also boxed, powder options that I had not tried so I cannot recommend it.
- I have tested the temperature of my electric oven with a light on, and it maintains at about 92°F (33°C), which is the perfect temperature for fermentation. This works for proofing bread and making yogurt as well.
- Depending on the equipment you use for grinding your rice and dal, you may risk overheating your batter. This is not a problem if you are lucky enough to have an Indian grinder or a very powerful blender like the Vitamix or Blendtec brands. If using a less powerful blender and working in batches, blend in short bursts rather than one long session. This will prevent overheating, which can inhibit fermentation. It is important that your batter not get hotter than 110°F (43°C). I check the temperature of my batter with an instant thermometer as I blend, so I know when I need to allow it to cool down. I have been using a Ninja blender.
- Fermenting in the Instant Pot:
- Pour the batter into the steel insert of Instant pot and cover with a glass lid or any lid that fits. It is suggested that you not use the regular Instant Pot lid, in case the batter overflows.
- Turn the temperature setting to Yogurt Mode. It does not matter whether the Pressure Valve is open or closed. Adjust the time to 12 hours.
- You are looking for the batter to double and become frothy. If the dosa batter is not ready in 12 hours, ferment for another hour or two.
- Sticking dosas? In addition to the paper towel wipe down, and you have made sure your dosa batter is room temperature, take half an onion cut side down and rub the pan all over. This help moderate the pan temperature.
- Dosas at home are one of the Top 20 Dishes in India, enjoy!

Eric says
I love these idlis so much! I could eat them every day. I need to learn to make them myself—obviously.