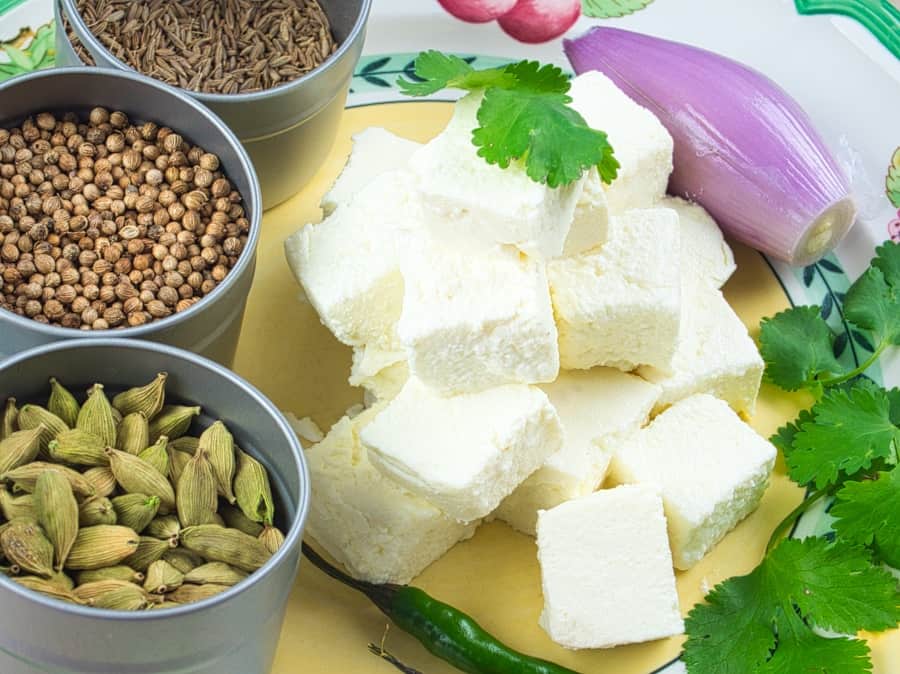
Paneer, the Essential Cheese
Paneer is a fresh uncured cheese used extensively in Indian cooking and is a boon for vegetarians. There are records of fresh cheese being made as long ago as 75 AD in Asia. Its popularity continues, especially in North Indian cuisine for savory dishes, and in sweets in the eastern part of the country. Because paneer is very versatile, this how-to make paneer recipe will help you with a great replacement for meat any curry, as a substitute for meat or poultry.
This is such an easy cheese to make, but first, let’s clear up some confusion around paneer. I’ve seen it called cottage cheese, cream cheese, and farmer’s cheese. For something that has two ingredients and a simple process, the range of advice for this ingredient covers the extremes. Starting with: squeeze all the water (whey) out of the cheese after it curdles, don’t squeeze the whey; use vinegar, or use lemon juice. Rinse the cheese to remove any sourness, but most recipes don’t suggest rinsing. Bring the milk to a boil, or only bring to 195 to 200 degrees.
Lots of advice
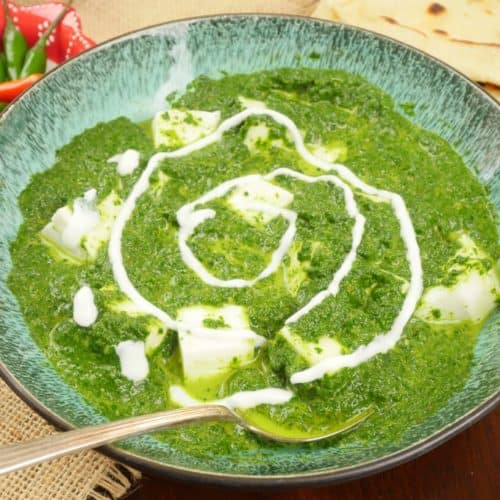
Some people use a weight for 15 to 30 minutes to squeeze all the whey out of the cheese, and others let it sit for an hour to let the whey drain out naturally. Some recommend letting it sit in the fridge overnight before using it, and others say you can use it right away. Have fun experimenting. I did, and I hope that my notes at the bottom of the recipe will help you avoid some of the trouble I had. And when you have a lovely mountain of snow-white cubes of your very own cheese, head over to my palak paneer recipe for a family favorite.
Happy cooking!
~Alonna
See the Notes below before you cook.
Recipe Card 📖
Homemade Paneer
Equipment
- Colander or sieve
- Cheesecloth or muslin
- A weight: 28-ounce can of tomatoes or a bowl of water
- 4-quart heavy bottomed saucepan or dutch oven
Ingrediants
- 1/2 gallon whole milk ~ Or 2%, but not UHT (milk in room temperature boxes)
- 1/4 cup lemon juice ~ Or distilled white vinegar
- 1 teaspoon table or sea salt ~ Substitution
- 8 ice cubes ~ Optional
Instructions
- Gather your ingredients.
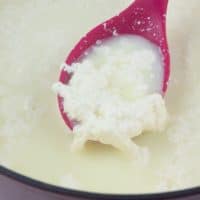
- In a heavy pan heat milk and salt over medium-high heat. Stir frequently, scraping the bottom of the pot until boiling (turn down the heat if sticking), and add lemon juice or vinegar. Stir the milk thoroughly and remove from heat immediately.
- The milk should start curdling immediately. Allow to stand for 5 to 10 minutes to allow it to separate fully into curds and thin blue to yellowish liquid (whey). If your mixture is not separating, add another tablespoon of acid. Add salt and mix briefly to combine. Add ice, if using (see Notes) and stir until dissolved.
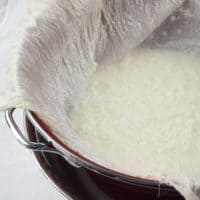
- Line a colander with cheesecloth, muslin, or a kitchen towel, making sure that you have 2 to 3 inches hanging over the rim. Place the colander over a bowl so that you can catch the whey, if saving, and pour the curds and whey in the lined colander.
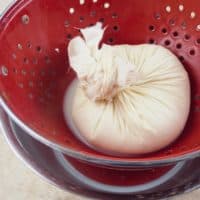
- Let drain and cool slightly to the touch. Gather the cloth tightly around the paneer, and gently squeeze out excess whey. Leave in the cheesecloth or towel in the colander, and flatten into a square about 1 inch (2.5 centimeters) thick. Place a plate on top and weight with a large can of tomatoes, or a bowl of water, and let sit for 20 to 30 minutes.
- You can use your cheese right away, or store in the refrigerator wrapped tightly in plastic wrap, for 2 days, or 6 months if stored in the freezer. Defrost in the refrigerator for the best texture. For each quart (4 cups of whole milk) you will get approximately 3 ounces of paneer, so this recipe yields at least 6 ounces of cheese.
Notes
- If you want a very smooth and creamy paneer, add about 8 ice cubes to the mixture immediately after the curds and whey have separated.
- You can use either lemon or distilled vinegar, no need to rinse the cheese, which some cooks recommend.
- Type of milk: I have not tried 1% milk though I have read it works, however, your cheese will be more dry and crumbly. If you are wanting nice cubes for palak paneer, for example, you are best off using whole milk.
- Almost every paneer recipe I have found does not use salt. I found two recipes using salt, one from Saveur, and one from TheKitchn.com. To my taste, paneer tastes so much better with at least with some salt. Most recipes using paneer includes a very flavorful sauce, so you may decide you don’t need to add salt.
- The leftover whey has nutritional value and can be used for soups, or as a liquid in making naan, or other bread.
- Don’t press and drain your paneer too long, or it will dry out and get crumbly.
- The cheese will be firmer if you refrigerate for at least 30 minutes.
- This recipe is easily doubled, but make sure you have a large enough pot so it won’t bubble over.
- I have tried using half and half to see how that would work and I found the final result to be crumbly, and I wouldn’t use it again.




Leave a Reply